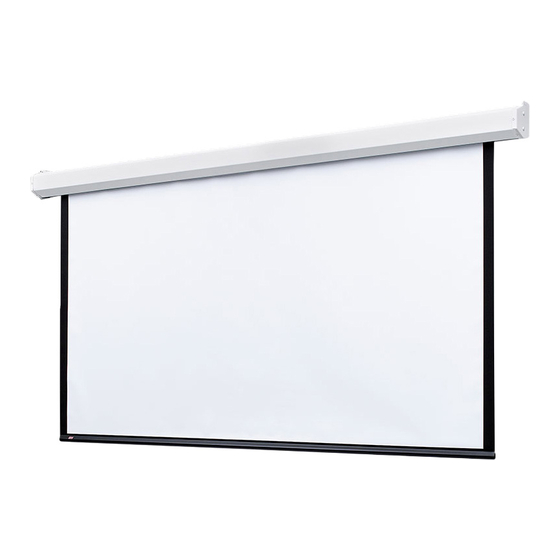
Draper 236003EC Instructions - Page 2
Parcourez en ligne ou téléchargez le pdf Instructions pour {nom_de_la_catégorie} Draper 236003EC. Draper 236003EC 4 pages.

Acumen
M
™
Section 1 - Hanging Screen
Section 1.1 - General:
1.
Wall Mounting Brackets
(minimum of 2) must be attached to the case regardless of mounting method.
2. Screen should be lifted into position only by case end caps. Keep case level by lifting case end caps
simultaneously to prevent surface damage. Never attempt to lift screen along its length.
3. When locating viewing surface and checking clearance for screen's operation, remember surface is
centered in case. Handle case carefully to protect its finish.
4. Regardless of mounting method, screen should be positively and securely supported so that vibration
or even abusive pulling on viewing surface will not cause case to loosen or fall. Installer must ensure that
fasteners used are of adequate strength and suitable for mounting surface chosen.
REFER TO DIAGRAM ON LAST PAGE OF MANUAL FOR WALL BRACKET DIMENSIONS
Section 1.2 - Wall Installation:
1. Secure the Mounting Brackets (minimum of 2) to the wall using appropriate hardware
CAUTION: Product is very heavy: Installer must provide adequate attachment hardware and anchors as
required. Installer must also ensure that structure is of adequate strength.
2. Ensure that
mounting brackets
3. Slide all
Bracket Locks
to the center of case.
4. Holding the case by the endcaps, lift it up and over the cleats on the
12"
(305mm)
Max. Distance
Slide to lock case to
5. Once the case is settled on the mounting brackets, slide the
are level.
Figure 3-A
Wall Bracket Channels
Bracket
for Case Mounting
Bracket Locks
.
(by others)
Figure 3-B
Wall
Mounting
SIDE VIEW
Bracket
ACUMEN
SIDE VIEW
mounting brackets
. Wall Bracket Mounting Channels are shown in Fig. 4 below.
(see Fig. 3)
One Wall Bracket
Centered
Optional
Center Bracket
to the center of each
mounting bracket
Appropriate hardware
provided by installer.
Wall Mounted
16" (406mm) on center shown
W A L L
M o u n t
i n g H a
r d w a r e
N O T E :
It is th e
(b y o th e
re s p o n
to s e le
rs )
c t m o u
s ib il it y
n ti n g h
o f th e in
fo r th e
a rd w a re
s ta ll e r
m o u n ti
a p p ro p
n g s u r fa
r ia te
c e
Slide to lock case to
Bracket
and secure set screw on the lock.
(see Fig. 4)
page 2 of 4
Appropriate
hardware
provided by
installer.
Ceiling Mounted
Figure 1
STUDS
Figure 2
Figure 4
Figure 4
