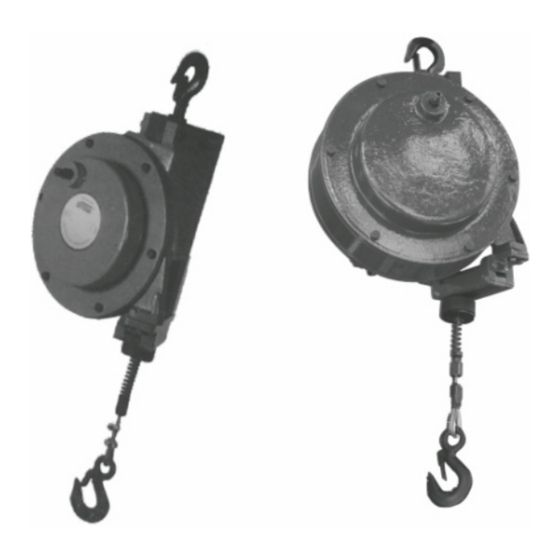
Draw P110 Manuel d'instruction - Page 2
Parcourez en ligne ou téléchargez le pdf Manuel d'instruction pour {nom_de_la_catégorie} Draw P110. Draw P110 3 pages.

3 - MAINTENANCE
A- Prior the maintenance, download completely the spring tension as
indicated in item 2 C until the cable is completely free of tension. Remove
the frontal cover then remove the reel spring set, afterwards inspect
springs, bearings, cap and pinion, observing all components.
B- It is important to examine the terminal of the cable by removing the
plug (item 29) to detect any premature wear (see figure D).
CABLE REPLACEMENT
When the cable indicates any sign of damage, this should be replaced immediately. Better to
change the cable than run the risk of falling, losing the load or injuring the operator.
To replace the cable, it is not necessary to disassemble the balancer, remove the spring tension or
remove it from its working position.
Simply move the cable to its lower end exposing the plug (item 29 - Fig. D) of the reel, as shown in
Fig. D. Engage the lock (item 43 - Fig. C) and remove the load. Remove the plug and the old
cable.
Place the new cable and replace the plug. Replace the load and then release the look (item 43 -
Fig. W)
BRAKE
The Draw™ Balancers P35 to P120 models have a fine adjusting brake
system on the front cover. This system is not factory preset. The brake is
activated by the allen screw (item 22 – Fig. E), which presses the brake
against the spring case. This allows a softer load return. When the desired
adjusting is reached, tighten the nut (item 23 - Fig. E) to hold it.
SAFETY
These balancers have double security system:
A - Reel Lock - In case of sudden spring rupture this system is activated. In the
absence of spring traction, the spindle-pinion system immediately retracts and
the latch (item 32 - fig F) locks on the shoes of the reel bottom.
B- Malt Cross (star) is activated in case of cable rupture,
preventing the central spring pulled by the load and suddenly without traction,
return at high speed avoiding other damages. (Item 50/28 - Fig G)
C- To reload the balancer and adapt it to the workload, turn clockwise the
hex nut (item 35) using a 5/8 (16 mm) wrench. To download, turn counter-
clockwise the same nut (see figure B).
balancer with the load hang down on the cable.
D- The balancer has on the back a handle (item 43) that locks the reel in 6
(six) positions at each turn. In this way, it is possible to handle the load
without any effort from the operator (see figure C).
Attention: Never download the
