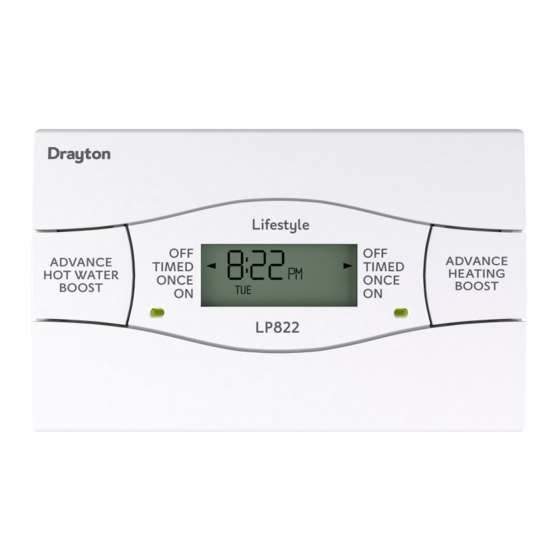
Drayton Lifestyle Manuel d'installation et d'utilisation - Page 2
Parcourez en ligne ou téléchargez le pdf Manuel d'installation et d'utilisation pour {nom_de_la_catégorie} Drayton Lifestyle. Drayton Lifestyle 17 pages. Programmer
Également pour Drayton Lifestyle : Manuel d'installation et d'utilisation (15 pages)

INSTALLATION INSTRUCTIONS
PLEASE NOTE: INSTALLATION MUST ONLY BE
CARRIED OUT BY A QUALIFIED ELECTRICIAN OR
HEATING ENGINEER.
MAKE SURE MAINS INPUT HAS A 3 AMP FUSE.
The Lifestyle Programmer conforms to the essential
requirements of these Directives:
2004/108/EC – Electromagnetic compatibility
2006/95/EC – Low voltage
BEFORE INSTALLATION
First, make sure the mains supply is switched off!
USING AN EXISTING WALL-PLATE
Loosen the securing screws on the old programmer and unplug
it. Check that there's 70mm clearance to the right of the
wall-plate, and 25mm above it. Now plug the
the wall-plate and tighten the securing screws. Check the 3A
fuse, and switch on the mains.
FITTING A NEW WALL-PLATE
The ideal location is 1.4m above floor level, with reasonable
lighting, good access, no condensation, no extremes of
temperature, and a supporting surface that fully covers the back
of the unit.
Position with 70mm clearance to the right, 25mm above, and
sufficient room to access the securing screws underneath.
Fix, with terminals at the top, either direct to a flat wall using wall
plugs and no. 6 x 1" woodscrews, or on a flush mounting single
conduit box type UA1 (BS4662) using M3.5 x 14 bolts. DO NOT
USE A SURFACE MOUNTING BOX.
Lifestyle
2
unit into
