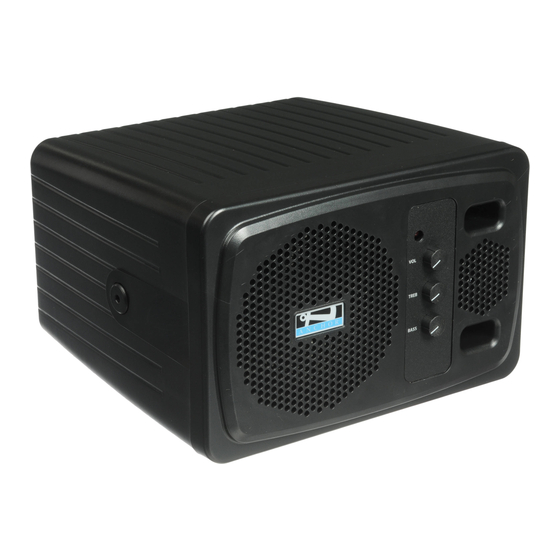
Anchor AN-130+ Manuel du propriétaire - Page 9
Parcourez en ligne ou téléchargez le pdf Manuel du propriétaire pour {nom_de_la_catégorie} Anchor AN-130+. Anchor AN-130+ 14 pages.
Également pour Anchor AN-130+ : Manuel du propriétaire (7 pages), Manuel du propriétaire (6 pages), Manuel du propriétaire (14 pages)

WIRELESS REMOTE CONTROL
Applicable for AN-130RC+ models only.
Remote Control Operation
Raise volume by pressing the volume up button
n
Lower volume by pressing the volume down button
n
Mute system by pressing the mute button
n
Stop mute by pressing the mute button again
n
or pressing either volume button
Replacing the Remote Control Battery
1. Locate the latch on the bottom of the remote, near the back.
2. Gently pull the latch towards the center of the remote
3. Slide out the battery holder carefully
4. Place a new battery in holder with positive symbol on the
battery facing up
5. Carefully re-insert the battery holder
CONNECTING MULTIPLE SPEAKER MONITORS
INSTRUCTIONS
AN-1000X+ To daisy chain these units, simply connect the line out of one unit to the line in
of another. Mutliple units can be connected using this setup.
AN-130+
When daisy chaining AN-135+ units, a stereo cable must be used to avoid
AN-135+
interference. Simply connect the line out of one unit to the line in of another.
Mutliple units can be connected using this setup.
When daisy chaining multiple AN-30 units, use a 3.5 mm (AUX) cable. Simply
AN-30
connect the line out of one unit to the line in of another. Mutliple units can be
connected using this setup.
MOUNTING THE SPEAKER MONITORS
RECOMMENDED BRACKET
SB-3BK+, SB-360BK+, RM1BK+, or
AN-1000X+
RM12BK+
SB-3W+, SB-3BK+, SB-360W+,
AN-130+
SB-360BK+, RM1BK+, or RM12BK+
SB-3W+, SB-3BK+, SB-360W+,
AN-135+
SB-360BK+, RM1BK+, or RM12BK+
AN-30 SB-30
VOLUME DOWN
NOTE: If the system is not responding be sure the signal is not blocked.
REMOTE CONTROL
BOTTOM
INSTRUCTIONS
1. Attach mounting bracket securely to the wall/ceiling with pre-drilled holes.
2. Remove Allen head cap screws from the bracket mounts on the unit.
3. Align the bracket arm with mounting hole on unit.
4. Attach both sides of the speaker securely to mounting bracket.
VOLUME UP
BATTERY
NOTE: Use only CR2025 or CR2032 type batteries.
RECOMMENDED CABLE
SC-50 or SC-50EX
SC-50
MINI-15ST
MINI-15ST
MUTE
BATTERY HOLDER
8
