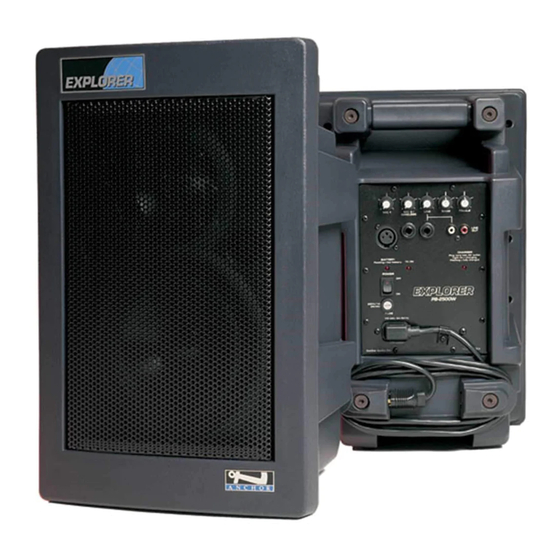
Anchor Explorer PB-2500 Manuel du propriétaire - Page 6
Parcourez en ligne ou téléchargez le pdf Manuel du propriétaire pour {nom_de_la_catégorie} Anchor Explorer PB-2500. Anchor Explorer PB-2500 7 pages.

Operation
Explorer Control Panel
(1/4" phone, RCA)
Mic 2 Input
(1/4" phone jack)
MIC 1
MIC 2 /
WIRELESS
Mic 1 Input
(XLR jack)
BATTERY
Flashing = low battery.
Power / Battery
Indicator
POWER
OFF
Power Switch
ON
250 V/1A
FUSE
(
SLO-BLO
)
1 15 V AC, 50⁄60 Hz
AC Receptacle
50 watts max
Anchor Audio, Inc.
Operating the sound system
1. Set all input level controls to minimum and bass and
treble to 12:00 position before turning the power on.
2. Plug a microphone into either Mic input jack
(depending on microphone and plug type), or
connect an audio source to the line input.
3. Turn power ON (red LED above switch will light).
On battery powered models, if the LED flashes or does
not light, the battery must be charged (see page 10).
4. Adjust the level control adjacent to the input used to
desired volume level.
5. Adjust the bass and treble controls for desired sound.
6
Line Inputs
Tone Controls
LINE
BASS
TREBLE
Line Output
(RCA jack)
LINE
OUT
Speaker Output
(AC models only)
CHARGER
Charging Indicator
(battery models only)
TX ON
CA
Wireless
Reception
Indicator
EXPLORER
EXPLORER
("W" models only)
Operation
Mic 1 Input
Balanced, low impedance XLR microphone input. Use with a
balanced microphone to help prevent hum or interference
when using long mic cables. It has phantom power for use
with condenser-type microphones.
Mic 2 Input / Wireless Mic Input
MIC 2 /
An unbalanced, low impedance microphone input. For use
WIRELESS
with mics that have a 1/4" phone plug.
On wireless models, the wireless receiver is internally
connected to this input. Use the Mic 2 level control to adjust
the wireless mic volume. (Inserting a plug into the Mic 2 input
disconnects the wireless input—to use a wireless microphone
simultaneously with a wired mic, use the Mic 1 Input.)
Line Input
LINE
The line input is used for playback of a tape or CD
player, musical instrument, VCR or similar source.
There is both a 1/4"-phone and an RCA jack. They
may be used simultaneously, and can be combined
with the mic inputs for a composite output.
NOTE: All connections must be made with shielded cable
to avoid hum, buzzing, or radio interference.
Line Output
The output signal is a composite of all the inputs. Use it to
LINE
OUT
record your presentation, or to "daisy chain" another powered
sound system to the Explorer for greater crowd coverage.
Speaker Output (AC models only)
Use the speaker output to drive an unpowered 8Ω speaker in
addition to Explorer's built-in speakers for greater output.
SPKR OUT
Speaker Stand Adapter
The 1.5" diameter speaker stand adapter mounts to the
bottom of the Explorer. To install the adapter:
1. Slide adapter into the slot on bottom of the Explorer.
2. Tighten screw to secure adapter to Explorer.
3. Place unit on stand, then tighten screw on the collar
of the adapter to secure Explore to stand.
7
