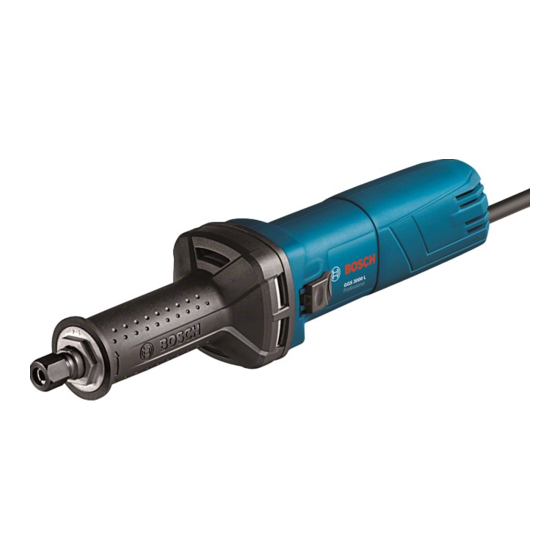
Bosch Professional TGS 5000 L Manuel - Page 16
Parcourez en ligne ou téléchargez le pdf Manuel pour {nom_de_la_catégorie} Bosch Professional TGS 5000 L. Bosch Professional TGS 5000 L 18 pages.

OBJ_BUCH-1427-003.book Page 7 Monday, June 27, 2011 1:09 PM
Assembly
Before any work on the machine itself, pull
the mains plug.
Mounting the Grinding Tools
(TGS 5000) (see figure A)
– Clean the grinder spindle 3 and all parts to
be mounted.
– Turn the grinder spindle 3 until the hole in
the grinder spindle 3 and the openings of the
housing are aligned. Insert the holding rod 8
through the hole of the grinder spindle 3.
– Loosen the clamping nut 2 with the open-end
spanner 9 (size 17 mm) by turning in anti-
clockwise direction.
– Insert the clamping shaft of the grinding tool
to the stop into the collet chuck 1.
– Tighten the clamping nut 2 with the open-
end spanner 9 (size 17 mm) by turning in
clockwise direction.
The grinding tools must run completely concen-
trical. Do not continue to use out-of-round grind-
ing accessories, instead, replace before contin-
uing to work.
Do not tighten the collet chuck of the
clamping nut as long as no grinding acces-
sory is mounted. Otherwise, the collet chuck
can become damaged.
Mounting the Grinding Tools
(TGS 3000 L/TGS 5000 L)
(see figure B)
– Clean the grinder spindle 3 and all parts to
be mounted.
– Hold the grinder spindle 3 with open-end
spanner 9 by the spanner flats.
Loosen the clamping nut 2 with open-end
spanner 9 by applying it to the spanner flats
and turning in anticlockwise direction.
– Insert the clamping shaft of the grinding tool
to the stop into the collet chuck 1.
– Hold the grinder spindle 3 firmly with open-
end spanner 9 and clamp the tool bit with
open-end spanner 9 by the spanner flats,
turning in clockwise direction.
Bosch Power Tools
The grinding tools must run completely concen-
trical. Do not continue to use out-of-round grind-
ing accessories, instead, replace before contin-
uing to work.
Do not tighten the collet chuck of the
clamping nut as long as no grinding acces-
sory is mounted. Otherwise, the collet chuck
can become damaged.
Dust/Chip Extraction
Dusts from materials such as lead-containing
coatings, some wood types, minerals and
metal can be harmful to one's health. Touch-
ing or breathing-in the dusts can cause aller-
gic reactions and/or lead to respiratory infec-
tions of the user or bystanders.
Certain dusts, such as oak or beech dust, are
considered as carcinogenic, especially in
connection with wood-treatment additives
(chromate, wood preservative). Materials
containing asbestos may only be worked by
specialists.
– Provide for good ventilation of the work-
ing place.
– It is recommended to wear a P2 filter-
class respirator.
Observe the relevant regulations in your
country for the materials to be worked.
Prevent dust accumulation at the work-
place. Dusts can easily ignite.
Operation
Starting Operation
Observe correct mains voltage! The voltage
of the power source must agree with the
voltage specified on the nameplate of the
machine.
Switching On and Off
To start the power tool, push the On/Off switch
5 forwards.
To lock the On/Off switch 5, press the On/Off
switch 5 down at the front until it latches.
To switch off the power tool, release the On/Off
switch 5 or, if it is locked, briefly push down the
back of the On/Off switch 5 and then release it.
1 619 P09 470 | (27.6.11)
English | 7
