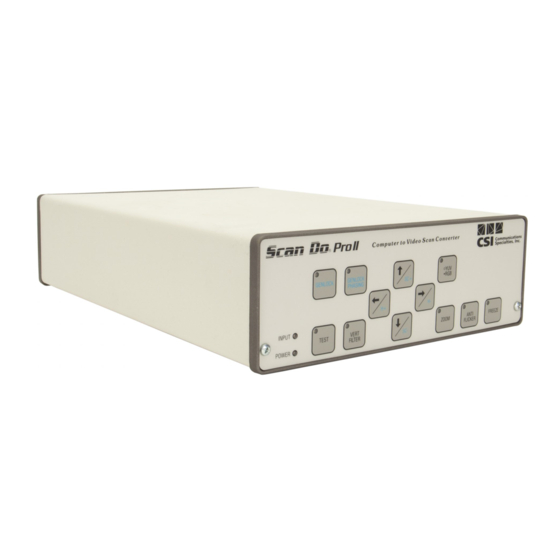
Communications Specialties Scan Do Pro II Manuel de l'utilisateur - Page 5
Parcourez en ligne ou téléchargez le pdf Manuel de l'utilisateur pour {nom_de_la_catégorie} Communications Specialties Scan Do Pro II. Communications Specialties Scan Do Pro II 15 pages. High resolution computer-to-video scan converter with genlock and optional sdi output (scan do pro ii/d)

REMOTE CONTROL:
GENLOCK MODE:
GENLOCK PHASING:
HORIZONTAL PHASING:
SUBCARRIER PHASING:
Scan Do Pro II provides for a hard-wired RS-232 remote control connection using
a 3-pin Phoenix-type connector on the rear panel. The baud rate is 9600 baud, no
parity, 1 start bit, 1 stop bit. The pin out is as follows:
1 - Ground
1
Please contact the sales department at Communications Specialties or our web
site at www.commspecial.com for detailed specifications on the command
structure for this remote control port.
The genlock button turns the mode on and off. When the genlock mode is on, the
unit looks at the genlock input and determines if a signal is present. If a signal is
present, it determines if it is the correct format (525 or 625) according to the
personality of the rear panel output format switch.
When the genlock mode is off, the LED is off. The LED is on steady when the
genlock mode is on and a valid signal is present on the genlock input connector.
The LED blinks slowly when genlock mode is on and a valid signal is not present
on the connector. The LED blinks fast for 3 seconds when the genlock mode is
on, there is no valid signal and the genlock phasing button is pressed.
The factory default setting is genlock mode off.
The genlock phasing button turns the mode on and off only when the genlock
mode is on and a valid signal is present on the genlock input. When genlock mode
is off, the genlock phasing mode is automatically off. Pressing the button in this
case does not initiate any action. In the case where the genlock mode is on but
no valid signal is present, genlock phasing cannot be turned on. Pressing the
genlock phasing button in this instance causes the genlock mode LED to blink fast
for 3 seconds as described in the section above.
The LED is on when the genlock phasing mode is on and off when the genlock
phasing mode is off.
When the genlock phasing mode is on, the arrow buttons become the Horizontal
and Subcarrier phasing advance and delay buttons. Panning the image, moving to
a quadrant and centering the image horizontally and vertically are not available
from the front panel when genlock phasing mode is on.
When the unit is in genlock phasing mode, the right and left arrows are the
horizontal phase delay and advance buttons respectively. They are auto-repeat
functions and will single step for approximately 2 seconds then step in increments
of 10 after that as long as the button is held down.
The factory default is the center of the horizontal phasing range.
The up and down arrows are the subcarrier phase advance and delay buttons,
respectively, when the genlock phasing mode is on. They are also auto-repeat
functions and will single step for about 2 seconds then step in increments of 10
as long as the button is held down.
The factory default is the center of the Subcarrier phasing range.
Scan Do Pro II User's Manual
2 - Receive Data
3 - Transmit Data
2
3
Page 5
