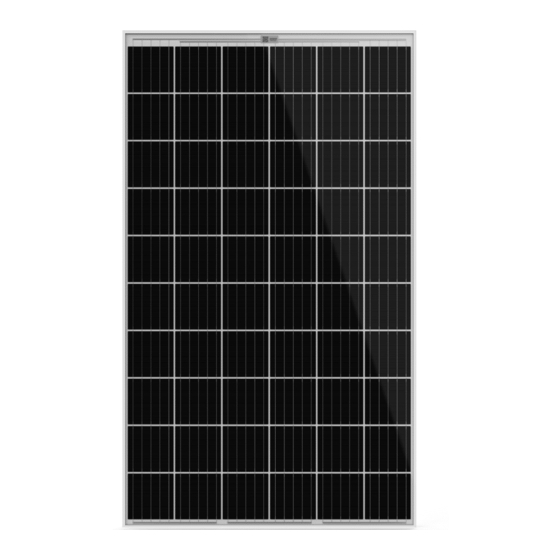
Aleo P23 Manuel d'installation - Page 7
Parcourez en ligne ou téléchargez le pdf Manuel d'installation pour {nom_de_la_catégorie} Aleo P23. Aleo P23 20 pages.
Également pour Aleo P23 : Manuel d'installation (20 pages)

WARNING !
WARNING!
Contact with live parts due to unsuitable tools
Contact with live parts due to unsuitable tools
or wet conditions. Danger of electric shock!
or wet conditions. Danger of electric shock!
• Only use approved, insulated tools for installation or
• Only use approved, insulated tools for installation or
maintenance work on live parts.
maintenance work on live parts.
• Work in dry conditions. Make sure that the electrical
• Work in dry conditions. Make sure that the electrical
connections on the solar module, the cables used
connections on the solar module, the cables used
for installation and the tools, are dry.
for installation and the tools, are dry.
7.2.1 Health and safety
7.2.1
Health and safety
CAUTION!
CAUTION!
Risk of slipping due to wind, rain, snow or ice.
Risk of injury due to falling or colliding with
Risk of slipping due to wind, rain, snow or ice.
objects!
Risk of injury due to falling or colliding with
objects!
• Avoid unfavourable weather conditions, such as
• Avoid unfavourable weather conditions, such as
strong wind or rain.
strong wind or rain.
• Also avoid working on the installation site in ice and
• Also avoid working on the installation site in ice and
snow.
snow.
• Use the safety equipment required or recommended
• Use the safety equipment required or recommended
by local regulations, such as hard hats, steel-capped
by local regulations, such as hard hats, steel-capped
shoes with rubber soles, protective goggles, gloves
shoes with rubber soles, protective goggles, gloves
or fall-protection systems.
or fall-protection systems.
_______________________________________________
CAUTION!
CAUTION!
Hot module parts in strong sunlight. Risk of
Hot module parts in strong sunlight. Risk of
burning!
burning!
• Protect yourself from burning by wearing gloves and
• Protect yourself from burning by wearing gloves and
suitable clothing.
suitable clothing.
_______________________________________________
8
Mechanical Installation
8
Mechanical Installation
8.1
Mounting orientation for modules
8.1
Mounting orientation for modules
8.1.1 Vertical (portrait) mounting
8.1.1
Vertical (portrait) mounting
When mounting the module vertically, make sure that the
When mounting the module vertically, make sure that the
cables are facing towards the ground and the junction box
exit holes for the cables on the module or its junction box are
is facing upwards.
facing towards the ground.
8.1.2
Horizontal (landscape) mounting
8.1.2 Horizontal (landscape) mounting
When mounting horizontally, make sure that the exit holes
When mounting horizontally, make sure that the exit holes
for the cables on the module or the junction box are posi-
for the cables on the module or the junction box are positi-
tioned on the inside of the photovoltaic generator. Avoid the
oned on the inside of the photovoltaic generator. Avoid the
lateral outer edges of the photovoltaic generator to minimise
lateral outer edges of the photovoltaic generator to minimi-
the effect of ambient conditions, such as wind or rain.
se the effect of ambient conditions, such as wind or rain.
8.1.3 Inclination
Incline the surface of the modules at an angle of at least
10° horizontally, so that precipitation can drain off which
supports the modules self-cleaning.
For optimum self-cleaning, we recommend an angle of at
least 15° horizontally.
aleo solar GmbH | Marius-Eriksen-Straße 1 | 17291 Prenzlau | Germany | [email protected]
Quick Reference Manual Rel. 3.0, 07/2014, en-GB-DE (1)
aleo solar GmbH | Marius-Eriksen-Straße 1 | 17291 Prenzlau | Germany | [email protected]
Quick Reference Manual Rel. 4.7, 08/2020, EN
Fig.1 Recommended position of the junction boxes for
Fig.1
Recommended position of the junction boxes for
horizontal mounting (facing the middle of the
horizontal mounting (facing the middle of the gen-
generator)
erator)
8.2
Safety precautions
8.2
Safety precautions
NOTE
NOTE
• Do not drill any additional holes in aleo modules
• Do not drill any additional holes in aleo modules or
or their frames.
their frames.
8.3
Improper mounting
8.3
Improper mounting
NOTE
NOTE
• Do not attach the modules using nails. The
• Do not attach the modules using nails. The vibration
vibration created in the process can cause micro
created in the process can cause micro fissures and
fissures and loss of yield, and results in loss of
loss of yield, and results in loss of warranty rights.
warranty rights.
• Do not attach the modules by welding. The temper-
• Do not attach the modules by welding. The
atures created in the process can cause delamina-
tion, micro fissures and loss of yield, and results in
temperatures created in the process can cause
loss of warranty rights.
delamination, micro fissures and loss of yield, and
results in loss of warranty rights.
8.4
Intervals
8.4
Intervals
8.4.1
Intervals between modules with standard frames
8.4.1 Intervals between modules with standard frames
NOTE
NOTE
• Leave a minimum clearance when mounting mod-
ules. This prevents mechanical tension due to ther-
• Leave a minimum clearance when mounting
mal expansion.
modules. This prevents mechanical tension due to
• When mounting at intervals
thermal expansion.
Leave a clearance of 3 mm or more between the
• When mounting at intervals
individual module frames.
Leave a clearance of 3 mm or more between the
• For edge-to-edge mounting
individual module frames.
Allow for an expansion joint of 20 mm after a
maximum of 7 m.
• For edge-to-edge mounting
• The recommended maximum clearance is 30 cm,
Allow for an expansion joint of 20 mm after a
based on the modules' standard cable length.
maximum of 7 m.
aleo solar recommends mounting at intervals. Also note the
• The recommended maximum clearance is 30 cm,
information from the mounting equipment vendor. This could
based on the modules' standard cable length.
specify larger intervals.
aleo solar recommends mounting at intervals. Also note
the information from the mounting equipment vendor.
This could specify larger intervals.
GID AS009b
Page 7/19
Page 7/20
