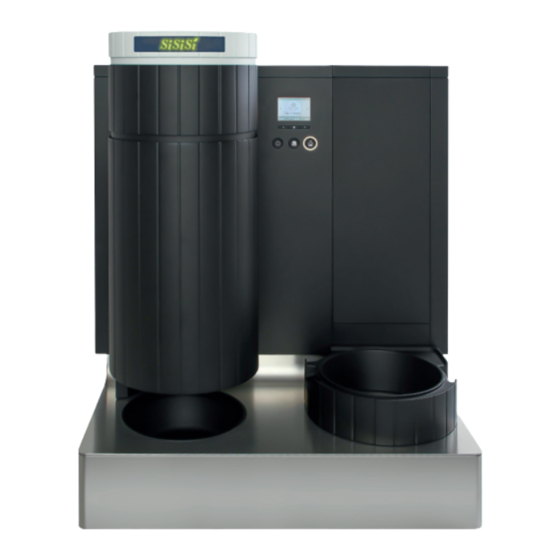
Carogusto EUBT400-1 Manuel d'installation et d'utilisation - Page 10
Parcourez en ligne ou téléchargez le pdf Manuel d'installation et d'utilisation pour {nom_de_la_catégorie} Carogusto EUBT400-1. Carogusto EUBT400-1 20 pages.

7. Cleaning
7. Cleaning
7.1 Starting the cleaning process
7.2 Cleaning the mixer unit
18
You can switch the device off at any time
➔
using the Standby button.
The rinsing cycle will begin after every prepa-
ration.
WARNING: During the rinsing cycle the mixer
unit moves to the rinse cavity. Make sure
that no objects are placed between the mixer
unit and the rinse cavity. No manipulations
should be carried out in the area surrounding
the rinse cavity. During the rinsing cycle, the
"Rinsing" symbol appears in the display.
Remove the cover from the preparation
➔
unit.
The mixer unit can now be seen.
WARNING: Parts of the mixer unit can be very
hot. Use a protective cloth to remove it.
The unlocking lever is located on the right of
the mixer unit.
Before pressing the lever, hold the mixer
➔
unit with the protective cloth.
You can then depress the unlocking lever
➔
and remove the mixer unit from below.
7.3 Finishing the cleaning process
7. Cleaning
In order to avoid any impurities from the
dishwasher entering the mixer unit, you must
insert the red sealing plugs.
These can be found in the accessories
➔
pack.
Place the mixer unit in the dishwasher to
➔
clean it.
The device switches off automatically after a
timeout following the last preparation.
Remove the red sealing plugs from the
➔
mixer unit once it has been cleaned in the
dishwasher.
In order to replace the clean mixer unit, please
note the following:
The positioning guide (see 1.3 Mixer unit)
➔
on the cap must point forwards towards
you.
Guide the coupling of the mixer unit into
➔
the opening in the preparation unit and
press upwards until the mixer unit clicks
into place.
Pull down gently to check that the mixer
➔
unit is correctly engaged.
Now replace the cover of the preparation
➔
unit.
19
