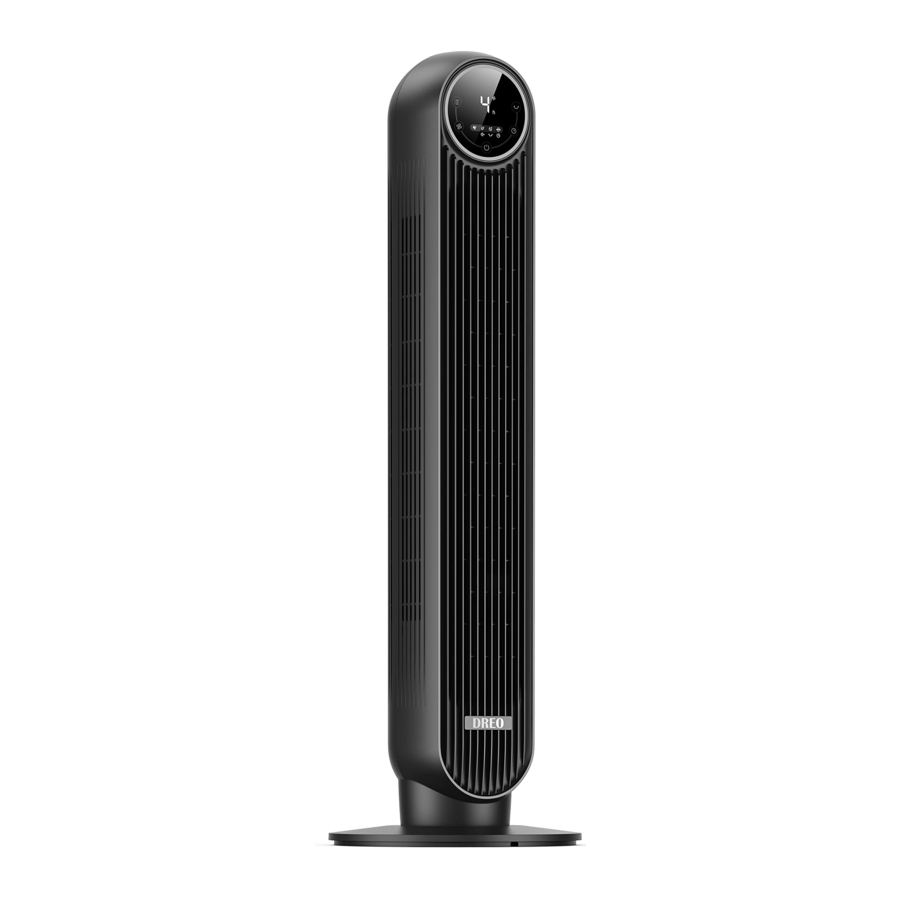
dreo DR-HTF007S Manuel de l'utilisateur - Page 4
Parcourez en ligne ou téléchargez le pdf Manuel de l'utilisateur pour {nom_de_la_catégorie} dreo DR-HTF007S. dreo DR-HTF007S 10 pages. Smart tower fan
Également pour dreo DR-HTF007S : Manuel de l'utilisateur (13 pages)

Electricity Safety
Make sure that the voltage of your electricity supply is the same as that
1.
indicated on the appliance.
2.
Always unplug before cleaning or leaving the appliance unused for a long
period of time. Keep your hands dry when plugging/unplugging.
3.
Do not operate any fan with a damaged cord or plug. Discard fan or return
to an authorized service facility for examination and/or repair.
4.
Do not run cord under carpeting. Do not cover cord with throw rugs,
runners, or similar coverings. Do not route cord under furniture or
tripped over.
5.
with any solid-state speed control device.
WARNING - If the supply cord is damaged, it must be replaced by the
6.
avoid a hazard.
Wireless Technology/Kabellose Technologie: Wi-Fi
Operation Frequency Band(s)/Betriebsfrequenzband(en): 2412 ~ 2472MHz
RF Output Power/RF-Ausgangsleistung: 18.78 dBm
Hereby, Shenzhen Hesung Innovation Technology Co.,LTD, declares
that this DR-HTF007S is in compliance with the essential requirements
and other relevant provisions of RE Directive 2014/53/EU.Hiermit erklärt
Shenzhen Hesung Innovation Technology Co., LTD, dass DR-HTF007S
den wesentlichen Anforderungen und anderen einschlägigen Bestim-
mungen der RE Richtlinien 2014/53/EU.
FOR HOUSEHOLD USE ONLY READ
AND SAVE THESE INSTRUCTIONS
Gentle Reminder:
Check the appliance regularly
and refer to TROUBLESHOOTING
or contact our customer support
if it shows any of the following
signs:
- Power cord or plug is damaged.
- Loud noise, unusual smell or excessive heat.
2
Model
DR-HTF007S
Input
AC 220V-240V 50Hz
Rated Power
35W
Battery Type
CR2025
ASSEMBLING
YOUR TOWER FAN
Assembly Instructions
parts by following the steps below.
1
Slots
Up
Down
Pegs
2
Press down on edges to click two
base halves together.
2
Keep two base halves in a
crossed position, then insert
pegs on one half onto the
slots on the other half.
3
Run the cord through the center
hole.
3
