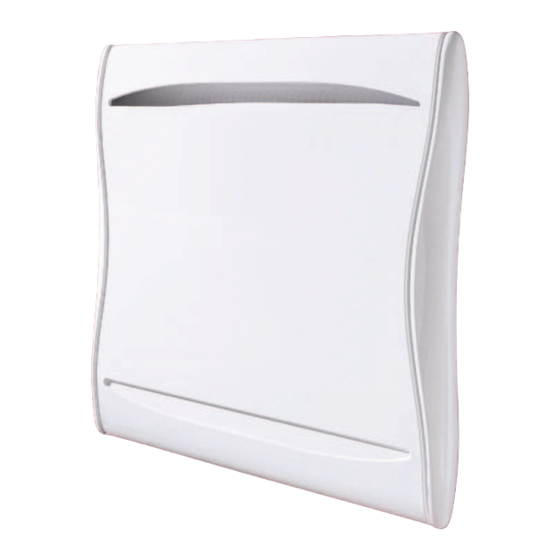
Atlantic Alcove Manuel d'installation et d'utilisation - Page 12
Parcourez en ligne ou téléchargez le pdf Manuel d'installation et d'utilisation pour {nom_de_la_catégorie} Atlantic Alcove. Atlantic Alcove 18 pages. Inertia radiator / cast iron heating element

2.2 - Attach the Wall Bracket to the Wall
1
Drilling Points A
Place the wall support on the ground. Iden-
tify drilling points A. These are the lower at-
tachment points.
Drill the 4 holes and insert the appropriate anchors for your wall type (for example: plasterboard,
3
concrete). Position the wall bracket and screw in place.
Device Dimensions and Weight
Power (W)
Overall Length
Height (mm)
Thickness (mm)
Device Weight (kg)
2.3 — Connect the Radiator
The device must have a 230V 50 Hz power supply.
Radiator power must be directly connected to the grid after the
all-pole circuit breaker with an opening contact distance of at
least 3 mm without an intervening switch (clock, mechanical
and static relay, ambient thermostat, etc...).
The electrical connection uses 3-wire cable (brown = phase,
blue = neutral, black = pilot wire) through the connection box. In
damp environments such as kitchens, the connection box must
be at least 25 cm from the ground.
The installation must have a protection device such as a circuit
breaker.
Connecting to ground is forbidden. Do not connect the pilot wire (black) to ground.
If the power cable is damaged, it must be replaced by the manufacturer, after sales service, or any similarly
qualifi ed person in order to avoid danger.
The power cable must be put in back in place and fi xed with the plastic rein to assure the preservation
in position of the thermostat. If this operation is not respected, there is risk of danger.
If the pilot or piloted device is protected by a 30mA differential (for example: bathroom), the pilot wire power
supply must be protected on this differential.
Pilot Wire Connection Test
You may connect the pilot wire if your house has a scheduler or energy manager.
2
Place the wall bracket with the previously identifi ed
points coinciding with drilling holes A.
Mark both drilling points B with a pen. You have
now identifi ed the 4 drilling points.
750
1000
517
665
615
615
138
138
12.5
16.8
Drilling Points B
Drilling Points A
1250
1500
813
961
615
615
138
138
20.9
24.6
2000
1183
615
138
33.8
