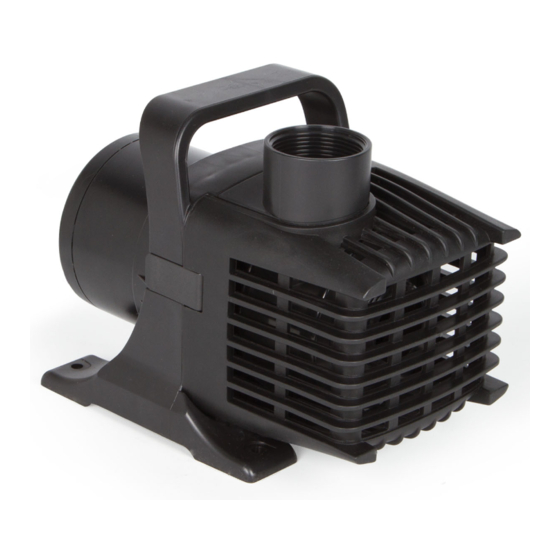
Atlantic TidalWave TT9000 Manuel d'utilisation - Page 5
Parcourez en ligne ou téléchargez le pdf Manuel d'utilisation pour {nom_de_la_catégorie} Atlantic TidalWave TT9000. Atlantic TidalWave TT9000 17 pages.

Cleaning
TidalWave TT-series pumps require periodic cleaning of the stainless steel cooling screen,
rotor and rotor chamber. Please follow the directions below for proper cleaning procedures:
• Unlock the latches on either side of the pre-filter by pulling outward from the pump
handle. Slide the pre-filter off to expose the volute.
• Remove the volute by rotating counterclockwise one quarter turn while pulling lightly
outward from the pump body. The TT9000 will require the removal of five screws to
remove the volute.
• Inspect the intake O-ring for nicks or breaks.
• Inspect the impeller and remove any debris that may be present.
• A stainless steel screen located behind the impeller draws water in to cool the rotor. If
the screen becomes blocked the pump may overheat. Inspect the screen and remove any
accumulated debris.
• Spin the impeller. If the impeller is difficult to turn, feels "gritty", or a grinding noise is
evident in the rotor chamber, remove the rotor as per the instructions below.
Removing the rotor
The rotor must be unlocked using the built-in wrench located on the bottom of the pre-filter
before it can be removed from the rotor chamber. Slide the impeller wrench behind the
impeller and engage two of the locking posts located on the face of the rotor. Push the
wrench tightly against the rotor face and rotate counterclockwise one quarter turn. Once
unlocked, remove the rotor by pulling the impeller outward from the pump body.
• Inspect the stainless steel rotor and the rotor chamber for built up debris. Loose debris
can be flushed out with clean water. Often in hard water, well water
or pond-free applications, debris may appear as a crusty film
around the rotor and in the rotor chamber.
Remove this film using a scrub brush
and white vinegar.
• Slide the rotor into the rotor
chamber and lock it in place
by rotating clockwise
one quarter turn.
• Attach the volute by
applying pressure and
rotating clockwise
one quarter turn.
• Replace the pre-filter
and lock the latches.
5
