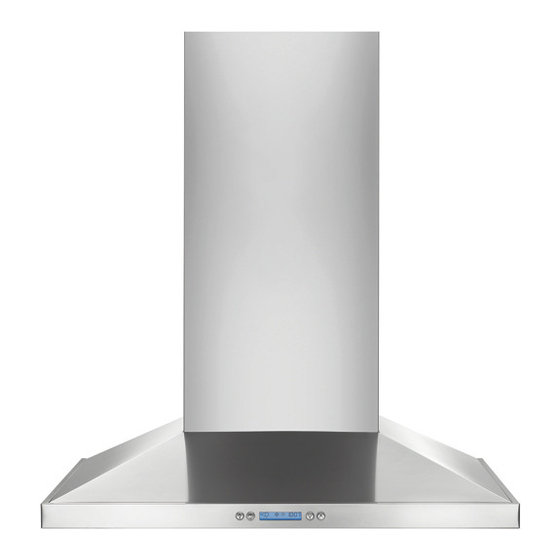
Control buttons
Control buttons
This hood is equipped with an electronic motor and
lamp control.
The control is able to set 4 different fan speeds, turn
ON/OFF light and has a timer function.
In the following drawing are described the main key
functions.
1
2
3
1. Light Button
1. Light Button
1. Light Button
1. Light Button
1. Light Button
• Press lamp button to turn ON the light (Lamp
state previously OFF).
• Press lamp button to turn OFF the light (Lamp
state previously ON).
2. Timer Button
2. Timer Button
2. Timer Button
2. Timer Button
2. Timer Button
• The default timer setting is 10 minutes, and it
can be adjusted between 20 minutes and
1minute.
• After pressing the timer button, the control
enters to a timer setup mode, and user can
adjust the timer countdown time with the
"
" and "
" buttons within 5 seconds.
The timer can be initiated immediately
pressing the timer button, after setting the
timer duration or pressing the timer button
twice (default 10 minutes setting).
• If no action occurs within 5 seconds, the
countdown will start.
• During the timer setup the "
buttons are dedicated to the timer and no
motor action will occur.
• Once the timer is initiated, it can be cancelled
by pressing the timer button again.
3. Display
3. Display
3. Display
3. Display
3. Display
• Shows the hood settings.
4. "
4. "
" Button. Speed Decr
" Button. Speed Decr
4. "
4. "
4. "
" Button. Speed Decrease / OFF
" Button. Speed Decr
" Button. Speed Decr
• This button is used to decrease the fan speed,
or turn OFF the fan.
• The fan will turn OFF if the "
pressed and the hood was in the first speed.
• If the fan is at second speed and the "
button is pressed, the fan will be set to first
speed.
• If the fan is at third speed and the "
pressed, the fan will be set to second speed.
• If the fan is at fourth speed and the "
button is pressed, the fan will be set to third
speed.
4
5
• If the fan is OFF and the "
pressed, the control backlight will light up.
5. "
5. "
5. "
5. "
5. "
• This button is used to increase the fan speed,
or turn ON the fan.
• The fan will turn ON if the "
pressed and the hood was OFF.
• If the fan is at first speed and the "
is pressed, the fan will be set to second
speed.
• If the fan is at second speed and the "
button is pressed, the fan will be set to third
speed.
• If the fan is at third speed and the "
button is pressed, the fan will be set to fourth
speed.
• If the fan is at fourth speed and the "
button is pressed, a beep will sound.
IMPORTANT: If the hood doesn't switch ON, before
calling for service, check if the internal General ON/
OFF Pushb-utton Switch is switched ON.
" and "
"
Frontside of the hood
ease / OFF
ease / OFF
ease / OFF
ease / OFF
" button is
"
Back side of the hood
" Button. Speed Incr
" Button. Speed Incr
" Button. Speed Incr
" Button. Speed Increase / ON
" Button. Speed Incr
General ON/OFF
Push button Switch
15
15
15
15
15
" key is
"
" button is
ease / ON
ease / ON
ease / ON
ease / ON
" button is
" button
"
"
"

