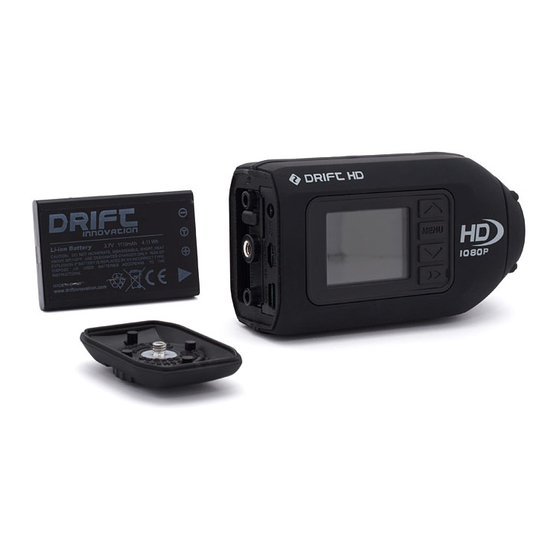
DRIFT HD Manuel de l'utilisateur - Page 12
Parcourez en ligne ou téléchargez le pdf Manuel de l'utilisateur pour {nom_de_la_catégorie} DRIFT HD. DRIFT HD 17 pages.
Également pour DRIFT HD : Manuel de l'utilisateur (19 pages)

menu options
e) seTuP Menu
To change Camera Setup settings, highlight the setting you wish to change and press
the SELECT button. Use the UP and DOWN arrows to choose the option you want,
and press the SELECT button again to confirm it. The icon next to the setting name
will reflect the new setting.
Menu
Options
Mic Sensitivity
High (Default)
Different sports have different ambient sound levels. Generally choose Low for
motorsports and Medium for cycling and wintersports.
Medium
Low
Extra Low
Off
Remote Control
Yes (Default)
Use this option to turn remote control functionality on or off.
No
Remote Pairing
Paired (Default)
This options allows for the camera to be paired with a specific remote. Please see the
pairing instructions on page 18.
Not Paired
LCD Off
Never (Default)
To conserve battery life, the LCD screen can be set to power down after a set period
of time. The camera remains on - only the LCD screen powers down. To switch on the
5 seconds
LCD screen, just press any button on the control panel.
10 seconds
20 seconds
1 minutes
5 minutes
Camera Off
Never (Default)
To conserve battery life, the whole camera can be set to power down after a set period
when not in use. Once powered down, the camera will need to be switched on again.
1 minutes
The camera will not switch off while recording is in progress.
5 minutes
10 minutes
20 minutes
30 minutes
Speaker Volume
Off
Use this option to change the volume level of the built-in speaker.
Low
Medium (Default)
High
Description
23
LCD Brightness
High (Default)
Use this option to change the brightness of the built-in LCD screen.
Medium
Low
Date
Year
Set the camera date. When the battery is removed or runs out of charge, the date
information is lost and will need to be reset.
Month
Day
Time
HH
Set the camera time. When the battery is removed or runs out of charge, the time
information is lost and will need to be reset.
MM
Date/Time
Off (Default)
Certain video applications require a date/time stamp. Enabling this option will add the
Stamp
time and date to the bottom right-hand corner of all video footage.
On
Language
English (Default)
French
German
Format
No
Use this option to format your Micro SD card. Please note that all data will be lost.
Yes
Reset Settings
No
Use this option to reset all camera options to the factory settings.
Yes
Firmware Version
The number indicates the firmware version installed on the camera. When new
firmware is successfully installed, this number will change.
F) seTTinG The TiMe & DaTe
1. Open the Camera Setup Menu as described on the opposite page.
2. Highlight the Time or Date setting on page 2 of the Setup Menu and press the
SELECT button.
3. Press the UP and DOWN buttons to adjust the value of the time or date fields, and
the SELECT button to move between hours / minutes or year / month / day.
4. Press the MENU button to save the time / date and return to the Setup Menu.
24
