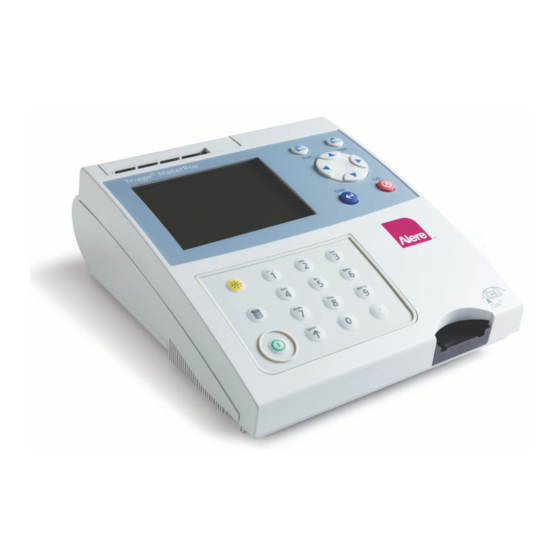
Alere Triage Manuel de référence rapide
Parcourez en ligne ou téléchargez le pdf Manuel de référence rapide pour {nom_de_la_catégorie} Alere Triage. Alere Triage 2 pages. How to conduct testing with the system

How to Conduct Testing
with the Alere Triage
Quick Reference Guide
IMPORTANT: Read the Alere Triage Meter User Manual and Product Package Insert prior to any tests
and for any additional information or troubleshooting.
Sample and Test Device Information:
1.
Collect the appropriate sample type.
a. Refer to the product Package Insert for
appropriate sample type and handling.
b. Use only EDTA as the anti-coagulant for blood
samples.
i. Frozen plasma and refrigerated whole blood
and plasma must be allowed to reach room
temperature and mixed thoroughly before testing.
c. Freshly voided urine samples should be collected in a clean
container.
2.
Individual unopened Test Devices should be removed from
refrigerated (2°-8°C) storage and allowed to reach room temperature
(20°-24°C) a minimum of 15 minutes prior to testing. If a kit
containing multiple Test Devices is removed from refrigeration,
allow the kit to reach room temperature before use. This will take a
minimum of 60 minutes.
3.
Do not remove the Test Device from the pouch until prepared for
immediate use.
4.
Writing only in the white area of the label, write the Sample ID.
of the blank area as this may interfere with the test.
Sample Addition:
1.
Using the transfer pipette, squeeze the larger
(top) bulb completely and insert the tip into the
specimen.
2.
Release the bulb slowly. The transfer pipette
NOTE: Ensure that the pipette is not under
some sample in the top bulb. Ideally the lower bulb should contain
a small amount of sample (less than one quarter the volume of the
lower bulb).
3.
Place the tip of the pipette into the sample port of the Test Device
specimen in the smaller (lower) bulb should not be expelled.
NOTE: Too much sample has been added to the device if the sample
has migrated outside of the sample port and on to the label.
4.
Remove the transfer pipette tip from the sample port and then
release the larger (top) bulb.
5.
Discard the transfer pipette.
6.
Allow specimen to absorb completely before moving the Test Device.
At the minimum the sample should be below the sample port
opening to be considered fully absorbed.
System
®
Running an Alere Triage
Prior to testing, ensure that the daily QC
requirements have been met (refer to QC Device
testing in the Alere Triage
NOTE: When running any test always keep the
surface out of direct sunlight.
1.
Select "Run Test" from the main menu screen,
Press ENTER .
a. Enter the USER ID, if necessary, using the numeric keypad or the
optional barcode scanner.
2.
Select "Patient Sample" and Press ENTER.
3.
Enter the PATIENT ID using the numeric keypad or optional barcode
scanner.
4.
a. If an error is made when entering the USER ID or PATIENT ID,
use the DELETE key to make the correction and then re-enter the
information.
5.
Holding the Test Device by the edges, carefully insert the Test Device
into the Meter until you hear an audible "click" (Refer to the graphic at
the left). Press ENTER. NOTE: The device must be inserted into the
Meter within 30 minutes once the patient specimen has been added
to the device. The test will be completed in approximately
15-20 minutes.
Results:
The results will automatically be displayed on the
LCD screen and stored in the Meter's internal
memory.
1.
If the automatic print mode is selected, the
results will automatically be printed upon
completion of the test.
a. If the results are not printed automatically
Press the PRINT key.
NOTE: Results that are outside of the pre-set range will be
printed in white on a black background. A blocked out result
indicates that the result was invalid and the test should be
repeated.
2.
Properly discard the Test Device after release from the Meter.
Test:
®
Meter User Manual).
®
