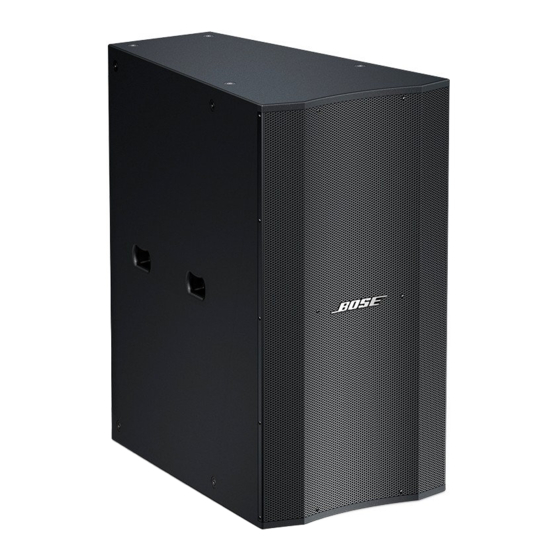
Bose Panaray LT3202 III Mid/High Manuel de référence - Page 30
Parcourez en ligne ou téléchargez le pdf Manuel de référence pour {nom_de_la_catégorie} Bose Panaray LT3202 III Mid/High. Bose Panaray LT3202 III Mid/High 40 pages. Panaray lt series iii
Également pour Bose Panaray LT3202 III Mid/High : Manuel d'installation (32 pages), Manuel d'entretien (27 pages)

Service Information
To Replace the t1.4hp High-frequency Compression Driver Diaphragm
To remove the compression driver from the loudspeaker cabinet:
1. Select, a clean, well lit work area that is free of magnetic materials that might be attracted to the magnet in the com-
pression driver.
Note: Do not let any dirt or dust come in contact with the replacement diaphragm.
2. Carefully clean the outside of the compression driver with a damp cloth.
3. Place the rear of the driver facing up.
4. Remove the three 5.32" stainless steel hexhead screws and lock washers with a 5.32" hex wrench by
first loosening each screw one turn. Then alternate loosening each screw until they are removed from the rear cover.
5. Gently lift the rear cover straight up. Set it down on its outside to keep the inside clean.
6. Remove the black diaphragm assembly by gently lifting and rotating it.
7. Examine the gap in which the coil of the diaphragm sits by completing the following:
A. Gently insert one end of a piece of clean paper (approximately 1" x 1.2") into the gap.
B. Slowly work the paper into the gap.
C. Move the paper around the perimeter of the gap.
Note: You should not feel any debris or obstructions with the paper. If there is debris, use a piece of masking tape to
remove. Fold the tape so that both sides have the adhesive backing on the outside. Insert the tape into the gap and work it
into and around the gap, removing any debris.
D. When the gap is clean, check once again with a clean piece of paper.
Note: If the gap is still not clean, do not install the replacement diaphragm but instead, replace the entire compression
driver.
8. Once the gap is clean, make sure that there is no debris on the front plate.The front plate may have some small
smudges from fingerprints but there should be no debris (from a shattered aluminum diaphragm or any other source)
and it should feel smooth to the touch with no pits in the metal.
Remove the replacement diaphragm from its carton.
9.
Note: Set it down so that the coil is facing up.
Grasp the diaphragm assembly around its edges and gently place it onto the front of the compression
10.
driver assembly. Do not press down on the diaphragm assembly (as this could cause the coil on the underside of
the diaphragm assembly to be crushed against the front of the compression driver assembly).
30
Replacement diaphragm for the t1.4hp high-frequency
compression driver
