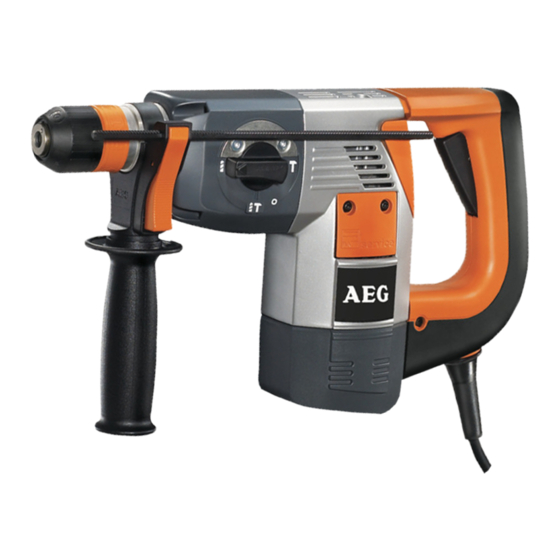
Atlas Copco PN 3500 Instructions de réparation - Page 11
Parcourez en ligne ou téléchargez le pdf Instructions de réparation pour {nom_de_la_catégorie} Atlas Copco PN 3500. Atlas Copco PN 3500 18 pages.

Assembly
1
Mounting the
Fit the centring ledges (3) to the field (4)
field
(take care of the right position; see illustra-
tion).
2
Insert the field (4) into the motor hous-
ing (5) (hit the back of the field housing
lightly with a plastic hammer for support).
3
If necessary, insert new silicone
buffers (2) into the air deflector plate (1).
4
Insert the air deflector plate (1).
1
Assembling and
Push the bearing (6), the washer (4) and
mounting the
the seal ring (5) over the armature shaft.
armature
2
Press on the toothed gear (3) as far as it
will go.
3
Insert the complete armature (7) into the
field.
4
Fit the silicone buffers (2) to the field hous-
ing.
5
Fix the armature with the angle (1) inside
the field housing.
6
Fit the seal ring (8) to the field housing.
7
Take care of the right position: see il-
lustration.
Take care of the right position: the
small boring-Ø must face the toothed
gear.
The armature must turn easily.
Repair Instructions No.179.11/97
PN 3500 / PN 3500 X
5
4
3
2
1
1
8
PAGE
2
3
4
5
6
7
10
1
2
