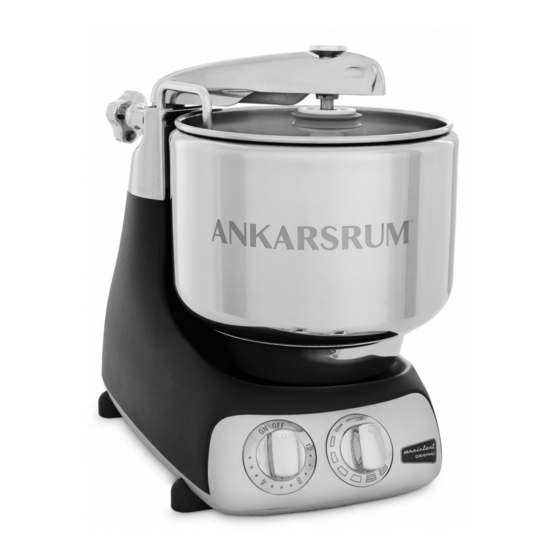
Ankarsrum AKM 6230 Manuel - Page 10
Parcourez en ligne ou téléchargez le pdf Manuel pour {nom_de_la_catégorie} Ankarsrum AKM 6230. Ankarsrum AKM 6230 15 pages. Electric stand mixer type n30
Également pour Ankarsrum AKM 6230 : Manuel de démarrage rapide (10 pages)

- 1. Table of Contents
- 2. Parts Included with the AKM 6230 Basic Package
- 3. Safety Instruc Ons & Warnings
- 4. Start/Stop Instruc Ons
- 5. How to Assemble the Dough Hook & Dough Scraper
- 6. Tips for Using the Dough Roller & Dough Scraper
- 7. Tips for Using the Dough Roller & Dough Scraper Cont
- 8. Tips for Using the Dough Hook & Dough Scraper
- 9. How to Assemble the Double Beater Bowl
- 10. Tips for Using the Double Beater Bowl
Arm/Roller Posi oning Chart for Bread Dough and other mixing
Recipe/Technique
Kneading bread dough (1‐3
cups of flour).
Kneading bread dough (3‐5
cups of flour).
Kneading bread dough (5‐9
cups of flour).
Kneading bread dough (9‐15
cups of flour).
Kneading bread dough (16‐21
cups of flour).
NOTE: Arm/Roller posi oning are just sugges ons and will depend on the s ffness of the dough. You will
always want the roller to be close enough to the rim of the bowl to apply gentle pressure to the dough as it
passes between the roller and the side of the bowl. However, make sure the roller is far enough away from
the rim of the bowl as not to push the dough up and out of the bowl or to force the roller to move too
harshly towards the middle of the bowl. If this happens, adjust the roller a li le further away from the rim
Combining wet and dry
ingredients
Creaming bu er and sugar for
cookies, cakes or icing.
Aera ng ingredients (such as
egg whites or whipping cream).
op ons.
Posi oning Tension Knob
Tightened (by turning towards
you) to secure the arm so it
cannot move back to the rim of
the bowl.
Tightened (by turning towards
you) to secure the arm so it
cannot move back to the rim of
the bowl.
Tightened (by turning towards
you) to secure the arm so it
cannot move back to the rim of
the bowl.
Tightened (by turning towards
you) to secure the arm so it
cannot move back to the rim of
the bowl.
Tightened (by turning towards
you) to secure the arm so it
cannot move back to the rim of
the bowl.
of the bowl and reduce speed just a bit.
Loosened (by turning away
from you) to allow free
movement of arm/roller back
and forth.
Loosened (by turning away
from you) to allow free
movement of arm/roller back
and forth.
Loosened (by turning away
from you) to allow free
movement of arm/roller back
and forth.
Arm/Roller Posi on
Roller should be 1 inch from
the rim of the bowl.
Roller should be about 2 inches
from the rim of the bowl.
Roller should be about 3 inches
from the rim of the bowl.
Roller should be about 4 inches
from the rim of the bowl.
Roller should be as far away
from the rim of the bowl as it
will go.
Roller should rest flush against
the rim of the bowl.
Roller should rest flush against
the rim of the bowl.
Roller should rest flush against
the rim of the bowl.
Star ng Speed
Begin on low and follow
specific recipe instruc ons,
referring to the Speed Control
Conversion chart on page 5.
Begin on low and follow
specific recipe instruc ons,
referring to the Speed Control
Conversion chart on page 5.
Begin on low and follow
specific recipe instruc ons,
referring to the Speed Control
Conversion chart on page 5.
Begin on low and follow
specific recipe instruc ons,
referring to the Speed Control
Conversion chart on page 5.
Begin on low and follow
specific recipe instruc ons,
referring to the Speed Control
Conversion chart on page 5.
Begin on low and follow spe‐
cific recipe instruc ons,
referring to the Speed Control
Conversion Chart on page 5.
Begin on low and follow spe‐
cific recipe instruc ons,
referring to the Speed Control
Conversion Chart on page 5.
Begin on low and follow spe‐
cific recipe instruc ons,
referring to the Speed Control
Conversion Chart on page 5.
10
