BECSys 2 Manuel de l'opérateur - Page 7
Parcourez en ligne ou téléchargez le pdf Manuel de l'opérateur pour {nom_de_la_catégorie} BECSys 2. BECSys 2 14 pages.

Operator's Manual
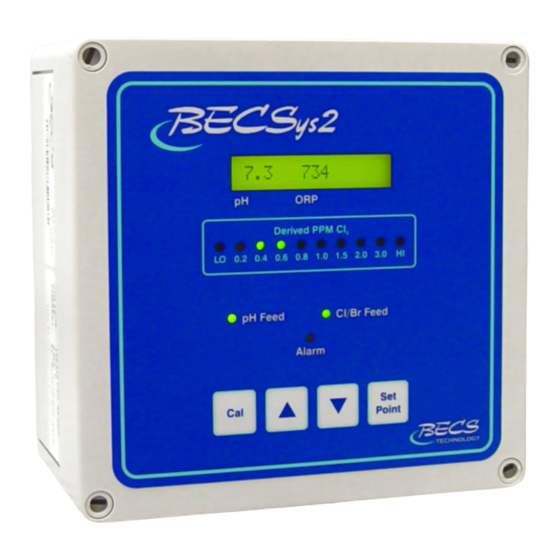
B – 1: Displaying the Set points
To display the Set Points, press the Set point key
briefly. The set points will be displayed for three
seconds.
B – 2: Modifying the Set Points
To modify the set points press the Set Point key for
three seconds. The display will change to pH SetPt
followed by the current pH Set Point.
B – 2.1: Modifying the pH Set Point
To change this setting, use the Up or Down
Arrows to input the new value, then press the Set
point key again to save it. To skip entering a new
value, press the Set Point key.
B – 2.2: Modifying the ORP Set Point
If the system is configured to control using an
ORP set point, the screen will display ORP SetPt
followed by the current ORP Set point.
change this setting, use the Up or Down Arrows
to input the new value, then press the Set point
key again to save it. To skip entering a new value,
press the Set Point key.
B – 2.3: Modifying the ppm Set Point
If the system is configured to control using a ppm
set point, the screen will display ppm SetPt and the
current ppm set point on the LED bar graph will
be flashing. To change this setting, use the UP or
Down Arrows to adjust this value shown on the
LED bar graph and press the Set point key again
to save the new value. To skip entering a new
value, press the Set Point key.
B – 2.4: Modifying the Booster Trigger Point
If relay 3 is configured for Cl/Br Booster control,
the screen will display boostr trig followed by the
9487 Dielman Rock Island Industrial Dr. St. Louis, MO 63132 Tel:(314) 567-0088
Section B: Normal Operation
B – 2.5: Modifying the Booster End Point
B – 3: Single Point Calibration
To enter the calibration menu, press and hold the Cal
key for three seconds.
To
release the Cal key.
B – 3.1: Single Point Calibration - pH
B – 3.2: Single Point Calibration - ppm
current trigger point. To change this setting, use
the Up or Down Arrows to input the new value,
then press the Set point key again to save it. To
skip entering a new value, press the Set Point key.
NOTE: This menu is only shown if you have
the Cl/Br Booster feed is enabled.
If relay 3 is configured for Cl/Br Booster control,
the screen will display booster end followed by the
current end set point. To change this setting, use
the Up or Down Arrows to input the new value,
then press the Set point key again to save it. To
skip entering a new value, press the Set Point key.
NOTE: This menu is only shown if you have
the Cl/Br Booster feed is enabled.
After the display clears,
The display should now read Cal pH followed by
the current pH reading. Use the arrow keys to
adjust the displayed value to match your test kit
reading, and then press the Cal key to save it. To
skip entering a new value, press the Cal key.
If ppm is available on your unit, the display should
read Cal ppm and the ppm LED's will be flashing.
Use the arrow keys to adjust the LED bar graph to
match your test kit reading, and then press the Cal
key to save it. To skip entering a new value, press
the Cal key.
Rev: D08
Page 5
