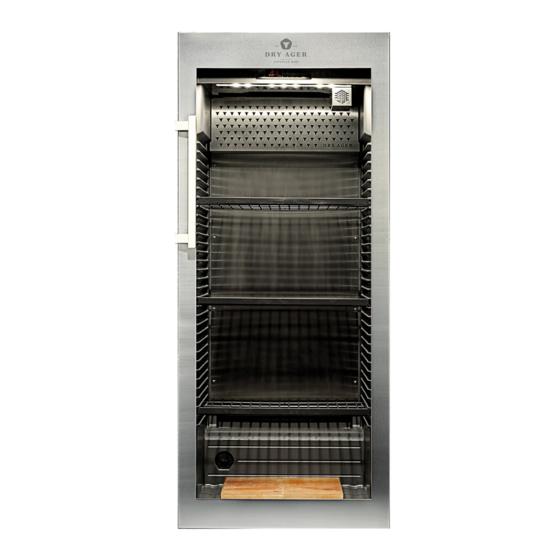
DRY AGER DX 1000 Manuel d'utilisation - Page 7
Parcourez en ligne ou téléchargez le pdf Manuel d'utilisation pour {nom_de_la_catégorie} DRY AGER DX 1000. DRY AGER DX 1000 17 pages.
Également pour DRY AGER DX 1000 : Manuel de l'utilisateur (14 pages)

- 1. Disposal Notes
- 2. Saving Energy
- 3. Description of the Appliance
- 4. Integrated Systems
- 5. Safety Instructions and Warnings
- 6. Electrical Connection
- 7. Interior Light
- 8. Safety Lock
- 9. Display and Symbols
- 10. Key Combination
- 11. Error Messages
- 12. Alarm Acknowledgement
- 13. Changing over Door Hinges
- 14. Shutting Your Appliance down
Dimensions DX 1000
Ventilation openings are absolutly necessary.
1
Minimum size: 300 cm
2
Overall dimension with opend door: 750 mm.
2
Overall dimension body + door (protruding): 742 mm.
3
DRY AGER stainless spacer available as an accessory on request.
4
®
. Possible on the side or at the back.
Electrical connection
Only operate the appliance with alternating current (AC).
The permissible voltage and frequency are indicated on the type
plate. The position of the type plate is shown in the section entitled
Description of the appliance.
The socket must be properly earthed and protected by a fuse.
The tripping current of the fuse must be between 10 A and 16 A.
The socket must not be situated behind the
appliance and must be easily accessible.
Do not connect the appliance using an extension cable or
extension socket.
Do not use stand-alone inverters (conversion
of direct current to alternating current/
threephasecurrent) or energy-saving plugs.
Risk of damage to the electronic control
system!
Interior Light
The interior of the appliance is lit by an LED light strip at the top
of the interior container.
The light intensity of the LED light corresponds to laser
class 1/1M.
Important
If the cover is removed, do not look directly at the
light through optical lenses from close distance. This can
damage your eyes.
Safety lock
The lock in the appliance door is equipped with a safety
mechanism.
Locking the appliance:
• Insert the key as shown by
arrow 1.
• Turn the key 180°.
To unlock the appliance, the
same procedure must be
repeated
7
