Anodyne Therapy Freedom 300 Informations sur la sécurité et instructions relatives à la demande - Page 11
Parcourez en ligne ou téléchargez le pdf Informations sur la sécurité et instructions relatives à la demande pour {nom_de_la_catégorie} Anodyne Therapy Freedom 300. Anodyne Therapy Freedom 300 20 pages.
Également pour Anodyne Therapy Freedom 300 : Manuel (20 pages)

- 1. Table of Contents
- 2. General Warnings and Precautions
- 3. Purpose of Device (Indications for Use)
- 4. Device and Parts Description
- 5. Environmental Conditions Affecting Use
- 6. Set up Instructions
- 7. Operating Instructions
- 8. Treatment Frequency
- 9. Cleaning
- 10. Maintenance
- 11. Storage
- 12. Troubleshooting
- 13. Summary
- 14. Warranty and Return Policy
- 15. Index
i
nsTruCTions
APPLYING THE FOOT TREATMENT PAD
Put on the Foot Treatment Pad detailed in steps
STEP 3:
3a - 3d below.
Step 3a: Unfasten the rear strap of the Attachment Sandal so
it hangs freely to the side of the Attachment Sandal.
Step 3b: Slide the front of your bare foot (do not
wear socks or hosiery) under the front straps
of the Attachment Sandal. The back of your
heel should be positioned at the rounded
side of the Foot Treatment Pad.
Step 3c: Comfortably tighten the front
straps over your forefoot to hold Foot
Treatment Pad in direct contact with the
skin of the bottom of your foot.
- Continue to page 12 for treatment time and frequency guidelines -
f
u
or
Step 3d: Wrap the rear strap of the Attachment
Sandal around the back of your heal and press
the Velcro end to the Front Straps to hold
securely in place. The bottom of your foot
should now be in contact with the Foot
Treatment Pad.
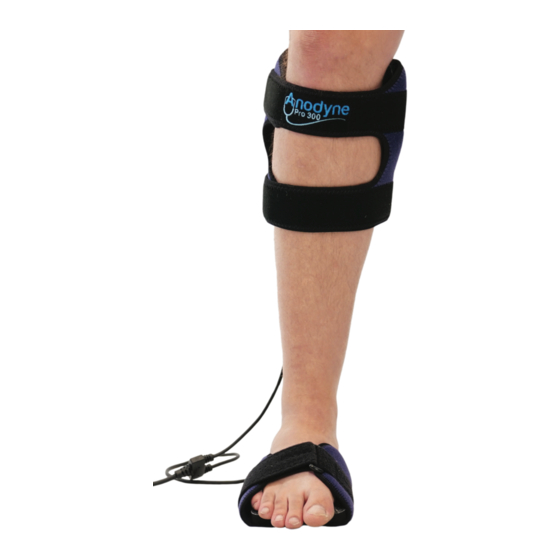
Your Freedom 300 should now look like
this on your calf and foot, and you are
ready to begin treatment.
se
11
