Daikin R32 Split Series Manuel d'installation - Page 11

Parcourez en ligne ou téléchargez le pdf Manuel d'installation pour {nom_de_la_catégorie} Daikin R32 Split Series. Daikin R32 Split Series 20 pages. R32 split series
Également pour Daikin R32 Split Series : Manuel d'installation (17 pages), Manuel d'installation (16 pages), Manuel d'installation (16 pages), Manuel d'installation (16 pages), Manuel d'installation (17 pages), Manuel d'installation (16 pages), Manuel d'installation (20 pages), Manuel d'installation (14 pages), Manuel d'installation (14 pages), Manuel d'utilisation (16 pages), Manuel d'utilisation (16 pages), Manuel d'utilisation (8 pages), Manuel d'installation (17 pages), Manuel d'installation (16 pages), Manuel d'installation (20 pages), Manuel d'installation (20 pages), Manuel d'installation (16 pages), Manuel d'installation (16 pages), Manuel d'installation (14 pages), Manuel d'installation (14 pages), Manuel d'installation (16 pages), Manuel d'installation (17 pages), Manuel d'installation (13 pages)
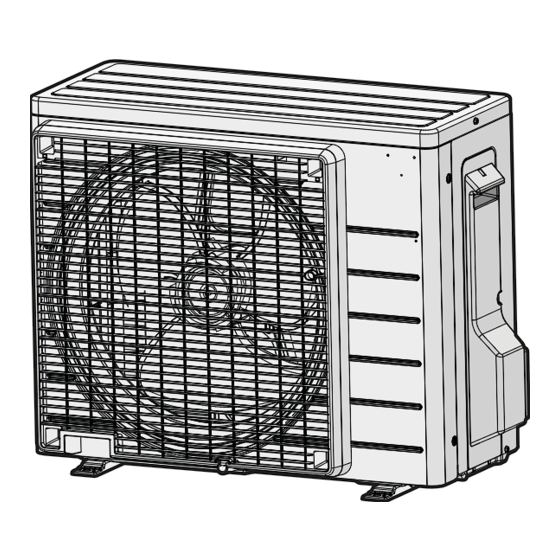
Daikin R32 Split Series Manuel d'installation
WARNING
Keep the interconnection wiring away from copper pipes
without thermal insulation as such pipes will be very hot.
7.1
Specifications of standard wiring
components
Component
Power supply cable Voltage
Phase
Frequency
Wire sizes
Interconnection cable
(indoor↔outdoor)
Recommended field fuse
Earth leakage circuit breaker
7.2
To connect the electrical wiring to
the outdoor unit
1 Remove the service cover.
2 Open the wire clamp.
3 Connect the interconnection cable and power supply as follows:
a
a
Interconnection cable
b
Power supply cable
c
Circuit breaker
d
Residual current device
e
Power supply
f
Earth
4 Tighten the terminal screws securely. We recommend using a
Phillips screwdriver.
8
Finishing the outdoor unit
installation
8.1
To finish the outdoor unit
installation
1 Insulate and fix the refrigerant piping and cables as follows:
(A)RXP20~35M5V1B
R32 split series
3P650253-6E – 2022.04
220~240 V
1~
50 Hz
MUST comply with
applicable legislation
4-core cable ≥1.5 mm² and
applicable for 220~240 V
16 A
MUST comply with
applicable legislation
50 Hz
220-240 V
b
c
d
e
f

8 Finishing the outdoor unit installation

d
c
a
e
b
f
g
a
Gas pipe
b
Gas pipe insulation
c
Interconnection cable
d
Field wiring (if applicable)
e
Liquid pipe
f
Liquid pipe insulation
g
Finishing tape
2 Install the service cover.
8.2

To close the outdoor unit

NOTICE
When closing the outdoor unit cover, make sure that the
tightening torque does NOT exceed 1.3 N•m.
9

Maintenance and service

NOTICE
Maintenance MUST be done by an authorised installer or
service agent.
We recommend performing maintenance at least once a
year. However, applicable legislation might require shorter
maintenance intervals.
NOTICE
Applicable legislation on fluorinated greenhouse gases
requires that the refrigerant charge of the unit is indicated
both in weight and CO
2
Formula to calculate the quantity in CO
tonnes: GWP value of the refrigerant × total refrigerant
charge [in kg] / 1000
10

Commissioning

NOTICE
ALWAYS operate the unit with thermistors and/or pressure
sensors/switches. If NOT, burning of the compressor might
be the result.
10.1

Checklist before commissioning

1 After the installation of the unit, check the items listed below.
2 Close the unit.
3 Power up the unit.
The indoor unit is properly mounted.
1
2
1
equivalent.
equivalent
2
Installation manual
11