DS Select-640 Manuel d'utilisation - Page 2
Parcourez en ligne ou téléchargez le pdf Manuel d'utilisation pour {nom_de_la_catégorie} DS Select-640. DS Select-640 6 pages. Dosing system

Remove the cover
from the pump head
(3 thumb screws).
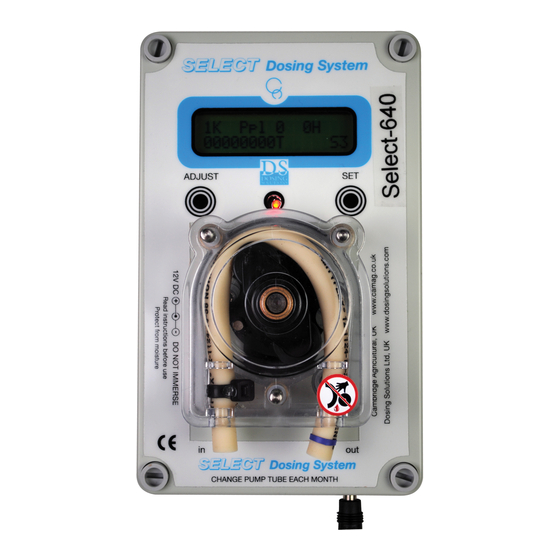
Description
The Select-640 Timed SSDIP is a dosing pump designed to give an initial dose of product, and then
give subsequent doses of either the same or a different dosed at timed intervals. The size of the initial
dose, the size of the timed dosages and the timed interval (in minutes) are all selected from the on-
screen controls. The components are; the main pump unit, delivery tube, and power supply (12V DC,
5A). There are no user serviceable parts inside the Select-640 SSDIP doser.
The doser will also give the initial dose on power-up.
Changing Pump Tubes
ENSURE THE POWER SUPPLY IS DISCONNECTED BEFORE CHANGING THE PUMP TUBE.
Removal of pump tube – Remove the black pump cover (3 screws). Unclip the pump tube at the inlet.
Lift out the pump tube whilst rotating the pump rotor by hand in a clockwise direction. When the pump
tube is clear of the rotors, completely remove the tube. Pull the old (soft) pump tube from the tube
connectors.
Push the new pump tube onto the tube connectors WITH THE TUBE RESTRAINT (ZIP TIE) ON THE
INLET SIDE. See instructions (above) to install new tube in the pump-head.
Ensure that all connectors between the pump tube and delivery tubes are securely fitted. If necessary
warm the delivery tube with warm air or water to soften it to make fitting more easy.
Pump Tube Life
The life of the pump tube will depend on many factors including the product being dosed, the back
pressures under which the pump is working, and the amount of time the pump needs to run to perform
correctly. It is suggested that, in order to maintain dosing accuracy, the pump tube is replaced on a BI-
MONTHLY BASIS or sooner if wear or disfiguration of the tube is apparent. Spare tubes are available
The pump is supplied
(normally) with a
beige coloured pump
tube with a grey
band, and also a
spare pump tube for
replacement.
3m of PVC delivery
tubing are also
supplied with the
pump.
Cut the delivery tube
to the desired lengths
for inlet and outlet.
Connect the delivery
tube to the pump
tube using the tube
connectors provided.
OTHERWISE ROTOR TURNING IS POSSIBLE
Place the tube clip in
the pump head as
shown. This is
important. The clip
should be in the
housing above a
mounting screw as
shown.
Turn the rotor by
hand to load the tube
– ensure the tube is
fully inserted.
CARE – MIND
YOUR FINGERS
2
Replace the pump
cover (3 thumb
screws).
Connect the pump to
the 12V DC 5A
transformer
(supplied).
The doser is ready to
operate.
See operation details
below.
2
