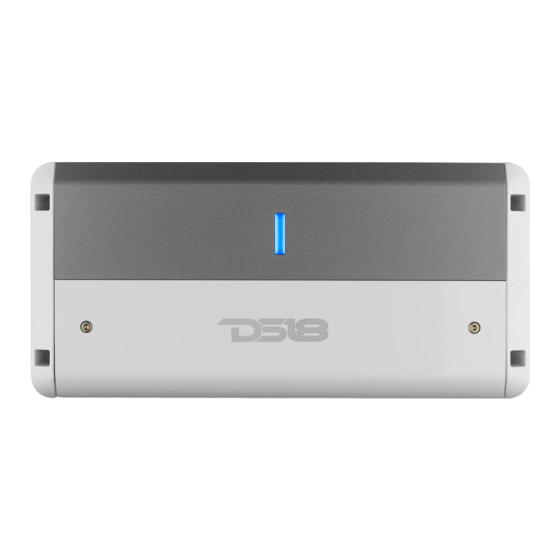
DS18 NXL-m2 Manuel du propriétaire - Page 7
Parcourez en ligne ou téléchargez le pdf Manuel du propriétaire pour {nom_de_la_catégorie} DS18 NXL-m2. DS18 NXL-m2 19 pages. Ipx5 grade marine/boat amplifier

11. Speaker Terminals(+/-) - Connect speakers
to these terminals, Observe speaker polarity
throughout the system. Improper phase can
result in loss of bass response and/or poor overall
sound quality.
AMPLIFIER INSTALLATION
Amplifiers are generally mounted in closed
compartments of the vehicle or watercrafts. Select
a location that will provide adequate ventilation for
the amplifier. Avoid mounting the amplifier in
exposed areas.
Secure the amplifier with the screws provided.
Before securing the amplifier, inspect the
mounting location carefully to ensure that you do
not drill into or damage any electrical, hydraulic,
fluid, or fuel lines.
1. Before you start, disconnect the negative cable
from the battery, tape up the end so it is isolated
from the battery.
2. Run an appropriate gauge wire from the battery
to the amplifier. Plan this part of the installation
carefully. this cable will carry very high current. If it
should short to the body and it is not properly
fused, it could catch fire.
3. Connect the power (+) wire to the positive post of
the battery using a marine grade fuse holder
capable of the total current load of all amplifiers
connected and locate it as close as possible to
the battery.
4. Connect the Ground (-) wire to the negative post
of the battery.
5. Run the speaker wire to the speakers. It is
advised that you leave some extra wire at this
point. You can fix it later. This amplifier is a
multi-channel amplifier design, meaning it has
more than one channel of speaker outputs.
Connect this carefully and neatly; strip your wire
back and twist the exposed leads. If the wires ever
contact each other the amplifier will go into
protection mode.
6. Connect the speaker wires to the amplifier and
speakers (make sure the amp is off first). Make sure
the polarity (+) and (-) is correct.
11. Terminales de altavoces (+/-) - Conecte los
altavoces a estos terminales. Observe la polaridad de
los altavoces en todo el sistema. Una fase incorrecta
puede provocar la pérdida de la respuesta de graves y/o
una mala calidad general del sonido.
INSTALACIÓN DE AMPLIFICADOR
Los amplificadores generalmente se montan en
compartimentos cerrados del vehículo o embarcaciones.
Seleccione una ubicación que proporcione una ventilación
adecuada para el amplificador. Evite montar el amplificador
en áreas expuestas.
Asegure el amplificador con los tornillos proporcionados.
Antes de asegurar el amplificador, inspeccione
cuidadosamente
la
asegurarse de no perforar ni dañar ninguna línea
eléctrica, hidráulica, de fluido o de combustible.
1. Antes de comenzar, desconecte el cable negativo de la
batería, pegue el extremo con cinta adhesiva para que
quede aislado de la batería.
2. Tienda un cable de calibre adecuado desde la batería
hasta el amplificador. Planifique esta parte de la instalación
con cuidado. este cable transportará una corriente muy
alta. Si tiene un cortocircuito en algun lugar y no está
correctamente protejido con fusible, podría incendiarse.
3. Conecte el cable de alimentación (+) al borne positivo de
la batería con un portafusibles de grado marino capaz de
soportar la carga de corriente total de todos los
amplificadores conectados y ubíquelo lo más cerca posible
de la batería.
4. Conecte el cable de tierra (-) al poste negativo de
la batería.
5. Tienda el cable del altavoz hasta los altavoces. Se
aconseja que deje algo extra alambre en este punto.
Puedes arreglarlo más tarde. Este amplificador tiene un
diseño de amplificador multicanal, lo que significa que tiene
más de un canal de salidas de altavoz. Conecte esto con
cuidado y prolijamente; Pele el cable hacia atrás y retuerza
los cables expuesto. Si los cables alguna vez entran en
contacto, el amplificador entrará en modo de protección.
6. Conecte los cables de los altavoces al amplificador y
los altavoces (asegúrese de que el amplificador esté
apagado primero). Asegúrese de que la polaridad (+) y (-)
sea correcta.
ubicación
de
montaje
para
6
