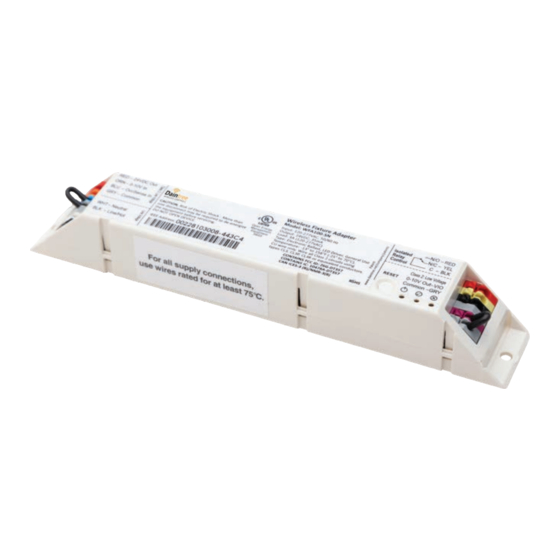
Daintree GE Current WFA100-SN Manuel d'installation - Page 10
Parcourez en ligne ou téléchargez le pdf Manuel d'installation pour {nom_de_la_catégorie} Daintree GE Current WFA100-SN. Daintree GE Current WFA100-SN 11 pages. Wireless fixture adapter

Daintree
Networked Wireless Fixture Adapter (WFA100-SN)
®
5
Installation Tests Continued
Test Suite 5:
Occupancy Sensor Only
1. Press and immediately release the Reset button. The
red Error LED flashes twice, then pauses and repeats.
2. Trigger the occupancy sensor. The green Joined LED turns
On. When the sensor times out the Joined LED turns Off.
3. Press and immediately release the Reset button to
exit testing.
4. Press and hold the Reset button on the WFA100-SN for
3 seconds to reset it. Release the button when the
green Joined LED and the red Error LEDs begin
flashing.
Test Suite 6:
Photosensor Only
1. Press and immediately release the Reset button. The
red Error LED flashes twice, then pauses and repeats.
2. The green Joined LED begins to flash. Increase the amount
of light at the photosensor by shining a bright light at it.
The green Joined LED flashes at a faster rate.
3. Press and immediately release the Reset button to
exit testing.
4. Press and hold the Reset button on the WFA100-SN for
3 seconds to reset it. Release the button when the
green Joined LED and the red Error LEDs begin
flashing.
Test Suite 7:
Occupancy Sensor + Photosensor
1. Press and immediately release the Reset button. The
red Error LED flashes twice, then pauses and repeats.
2. Trigger the occupancy sensor. The green Joined LED turns
On. When the sensor times out the Joined LED turns Off.
3. Press and immediately release the Reset button again. The
red Error LED flashes three times, then pauses and repeats.
4. T he green Joined LED begins to flash. Increase the amount
of light at the photosensor by shining a bright light at it.
The green Joined LED flashes at a faster rate.
5. P ress and immediately release the Reset button to
exit testing.
6. P ress and hold the Reset button on the WFA100-SN for
3 seconds to reset it. Release the button when the
green Joined LED and the red Error LEDs begin
flashing.
6
Joining the Zigbee Lighting
Control Network
After successfully completing the Installation Test the adapter
is ready to communicate with the Daintree Wireless Area
Controller (WAC) and the Daintree Controls Software (DCS)
web-based lighting management user interface. Upon
commissioning, the adapter's "Join" LED turns on solid and
remains on as long as the adapter is included in the ZigBee
Network.
After joining the network, the low voltage devices connected to
the adapter do not directly control the lights that are wired to the
same adapter. The control signals from the low voltage devices
pass through the adapter and are sent wirelessly to the Daintree
Networked platform. Depending on the zone and device
configuration in the DCS, wireless signals from the WAC to the
adapter determine the operation of the light(s).
For more information about configuring the lighting control
network, see the instructions and on-line help provided with
the Daintree Controls Software web application.
7
Troubleshooting
The Installation Test procedure fails.
1. Confirm that the WFA100-SN is powered.
2. C heck the connections from the WFA100-SN to
the ballast(s) and low voltage control devices.
3. C heck to be sure the factory installed jumpers on
the WFA100-SN are either in place or removed as
appropriate for the connected devices.
If connected to a 0-10V dimming ballast, remove the jumper
from the Violet and Gray terminals.
If not connected to a 0-10V dimming ballast, be sure the
jumper is connected between the Violet and Gray terminals.
If connected to an occupancy sensor, remove the jumper
from the Blue and Gray terminals.
If not connected to an occupancy sensor, be sure the jumper
is connected between the Blue and Gray terminals.
4. Press and hold the Reset button for 3 seconds to reset
the adapter.
5. Perform the Installation Test again.
Connected lights do not turn Off during the
occupancy sensor Installation Test.
1. Make sure the sensor is not detecting occupancy.
2. Check the occupancy sensor time delay and make sure it is
set for minimum.
When the Daintree Networked is commissioned, time
delays are set in the Daintree Controls Software web
application. These DCS "Off delays" start counting down
after the sensor's internal time delay expires. Therefore,
set occupancy sensors for the minimum time delay
during the WFA100-SN installation.
10
Installation Guide
