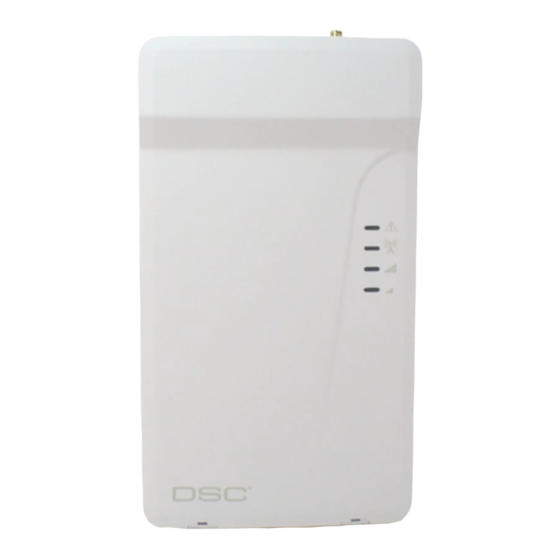
DSC LE4000 Manuel d'installation - Page 5
Parcourez en ligne ou téléchargez le pdf Manuel d'installation pour {nom_de_la_catégorie} DSC LE4000. DSC LE4000 8 pages. Lte wireless alarm communicator

Installing the LE4000
C24 Communications Enrollment
The LE4000 requires enrollment with C24 Communications to operate. For more information, please visit www.connect24.com,
contact C24 Communications customer service at 1-888-251-7458 (US) / 1-888-955-5583 (Canada) or contact the central sta-
tion to inquire if they are a C24 Communications Master Reseller.
NOTE: Enrollment with C24 Communications should be performed before turning on the LE4000 unit.
Before inserting or removing the SIM card, please ensure the unit is turned off.
Step 1 - Initialize the LE4000 with C24 Communications
The LE4000 can be initialized with C24 Communications by:
web - www.connect24.com
mobile - m.connect24.com
To complete enrollment, a C24 profile, installer ID/PIN (or web credentials) and the 20-digit SIM number are required.
NOTE: The SIM activation process with the cellular carrier typically takes between five and ten minutes to complete.
Step 2 - Determine the Best Signal Location
1. Remove the front cover by inserting a screwdriver into each of the slots at the bottom of the enclosure and pushing down.
2. Apply power (DC and/or battery). The LE4000 is now in Placement Test mode.
Step 2a – SIM Card is Activated.
The red LED will be on solid, the blue LED will be off and the signal strength LEDs will display the average signal strength. In
this state, the LE4000 is registered to the cellular network.
If the signal strength is too low (bottom signal LED off or flashing), the LE4000 will move to Step 3 and scan for carriers with suf-
ficient signal strength and attach to the carrier. If the LE4000 is connected to a carrier with sufficient signal strength (minimum of
bottom signal strength LED on solid), it will move to Step 4.
Step 2b – SIM Card is Not Activated
The red LED will flash, the blue LED will be off and the signal strength LEDs will display the average signal strength.
In this state, the LE4000 is unable to register to the cellular network because it is inactive. The signal strength indicated is from
any nearby cell tower (including cellular towers belonging to non-roaming partners) and does not necessarily reflect the signal
strength of the intended network. The LE4000 will remain in this state until the SIM is activated. Once the SIM is activated, the
LE4000 will move to Step 2a.
Step 3 – Carrier Scanning Due To Insufficient Signal Strength
The LE4000 will scan the surrounding cellular network and connect to the carrier to provide a signal strength of at least 7 CSQ.
When this action is being performed, all four LEDs will activate to show a scanning sequence. The LEDs will cycle from top to
bottom and then bottom to top. This cycle will continue until the LE4000 is connected to a carrier with a signal strength above 7
CSQ (minimum of bottom signal strength LED on solid). This process can take several minutes.
The carrier scanning sequence repeats until complete.
Once this is completed, the LE4000 will move to Step 4.
Step 4 - Acquire C24 Communications Programming
The red LED will be on solid and the blue LED will flash. The flashing of the blue LED indicates that the LE4000 has requested
programming from C24 Communications and is waiting for a response.
Once remote programming is completed, the blue LED will switch to solid and the LE4000 will move to Step 5.
Step 5 – Receiver Initialization
The red LED and the blue LED are both solid and the signal strength LEDs are off.
When the LE4000 sends a request to communicate with the central station, the top signal strength LED will begin flashing.
When the central station communicates back with the LE4000, the top signal strength LED will turn on solid.
When the LE4000 sends a request to communicate with the next central station, the bottom signal strength LED will begin flash-
ing.
When a signal is reveived back from the central station, The bottom signal strength LED turns on solid.
If at least one of the central stations did not respond back to the communicator, the signal strength LED corresponding to that
central station will turn off. Once the initialization sequence is complete, the LE4000 will move on to steady state operation.
Step 6 - Mount the LE4000
NOTE: If using an LE4000 trim plate, snap the LE4000 back plate onto the trim plate before mounting to the wall. If flush mount-
ing or using with an extension antenna, remove the provided breakaway from the trim plate prior to mounting.
1. Using the mounting holes on the LE4000 backplate, mark the four screw locations. Drill the anchor screw holes. NOTE:
Check for cable conduits and water pipes before drilling.
2. Inspect the mounting surface. Ensure that the surface is flat and will hold the wall tamper closed when mounted. Using
anchor screws (not provided), mount the cabinet to the wall.
3. Run the cables through the cable entry [13] or through the cabinet cable run knockout [15].
4. Complete the connections on the terminal blocks [12].
5. Reattach the front cover [1] securely to the cabinet.
5
