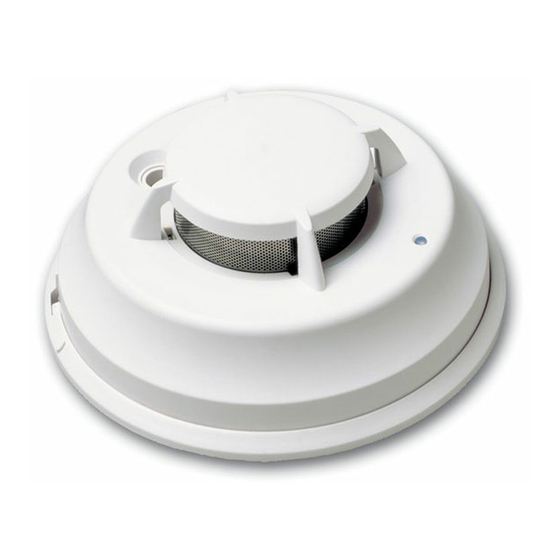
DSC FSA-210A Instructions d'installation et d'utilisation - Page 2
Parcourez en ligne ou téléchargez le pdf Instructions d'installation et d'utilisation pour {nom_de_la_catégorie} DSC FSA-210A. DSC FSA-210A 4 pages. Fsa-210 series smoke detector

Install Smoke detectors in accordance with NFPA 72, Ch. 11.
"Smoke detectors shall be installed outside of each sleeping area in
the immediate vicinity of the bedrooms and on each additional story
of the family living unit, including basements and excluding crawl
spaces and unfinished attics. In new construction, a smoke detector
also shall be installed in each sleeping room."
2. Mount Smoke Detector Backplate
Mount backplate on standard 4" octag-
Locking
onal electrical box using the screws pro-
Tab
vided.
NOTE: Power supply must be supplied
from a UL Listed alarm control unit. Install
wiring in accordance with the appropri-
ate national and local electrical codes.
CAUTION: The dust cover protects the
unit when not in service. Remove dust
Mounting Holes
cover before use.
3. Wiring
Refer to the wiring diagrams in this installation sheet and those
provided in the Installation Manual of the alarm control panel
being used with the unit. Before connecting the unit, prepare the
wires from the electrical box for connection; Do not use frayed or
bent wire.
9.35-30VDC
V+
V
+ + -
NOTE: Optional Remote LED
must have a series resistor.
Please see specifications.
LED
Relay
NO NC C
OPTIONAL
CAUTION: Do NOT use looped wire under terminals. Break the
wire run, to provide supervision of connections
When wiring is completed, inspect the wiring and correct any
errors before applying power to the unit. When the wiring has
been thoroughly reviewed, neatly insert the wires into the electri-
cal box and secure the unit to the mounting plate.
4. Mounting
Detector Installation:
Position the detector on to the
base plate using the detector and
base plate alignment marks. Press
the detector gently in place while
rotating the detector clockwise
until the detector snaps into
place. Remove the side tab from
the locking tab to lock in place
(optional).
Removal: If the side tab is removed to lock the detector, depress
tab with a small flat blade screwdriver and rotate detector
counter-clockwise until the alignment marks line up. Remove
detector.
EOL Device
+ + -
+ + -
Close
Tab
Alignment
Open
Marks
5. Test Unit
Initiate test for units without a sounder by placing a magnet near
the LED/Test Button for greater than 5 seconds. Initiate test for
units with a sounder by pressing the test button for greater than
5 seconds.
Alarm activation is indicated by the LED, the sounder, and the
alarm reporting to the Control Panel. If the smoke detectors are
inter-connected using model PRM-2W and a detector is tested,
then all detectors will sound. The detector restores to normal
when the test button is released or when the magnet is removed.
NOTE: Allow a minimum of 20 seconds between test activations.
NOTE: If the detector is in one of the following states when a test
is initiated; it will not enter an alarm state.
1.
Compensation trouble.
2.
Failure of heat or smoke detector.
3.
Other internal faults that could prevent a smoke or heat
alarm.
NOTE: Smoke sensitivity of installed detectors can be measured
without removal or an alarm being generated using the FSD-100
Smoke Detector Test Meter.
Test Unit with FSD-100 Smoke Detector Test Meter
To test the unit using the FSD-100, set the test meter up to read
devices as per the instructions supplied with the test instrument.
Depress the test button (or place the FSD-100 on the outside
edge of the plastics beside the test button to activate the reed
switch on units without sounder) on the smoke detector for 1
second and release.
NOTE: If the test button is held for 5 seconds or longer, an alarm
will be generated.
Move the test meter over the center of the detector, wait until
you hear the test meter beep, remove the unit and the informa-
tion can be immediately reviewed. Please see the instructions sup-
plied with the FSD-100 Smoke Detector Test Meter for more
information.
NOTE: Perform the tests one at a time. Performing simultaneous
tests on multiple detectors may trigger an alarm at the control
panel.
6. Compensation Reset
Cleaning, replacement of the smoke sensor, or other changes
may change the background signal/noise of the detector; this
requires the drift compensation be reset. Compensation trouble is
one of the faults indicated when the LED indicator is OFF while
the sounder is chirping.
1.
Remove power from the unit, then press and hold the test but-
ton for 30 seconds to power down unit.
2.
Power up unit while pressing the test button.The LED will
flash; when 5 seconds has elapsed. Release the test button
within 1 second after the fifth LED flash.
3.
The LED will flash every 8 seconds for 1 minute. When the
detector stops flashing test the detector to verify normal
operation.
