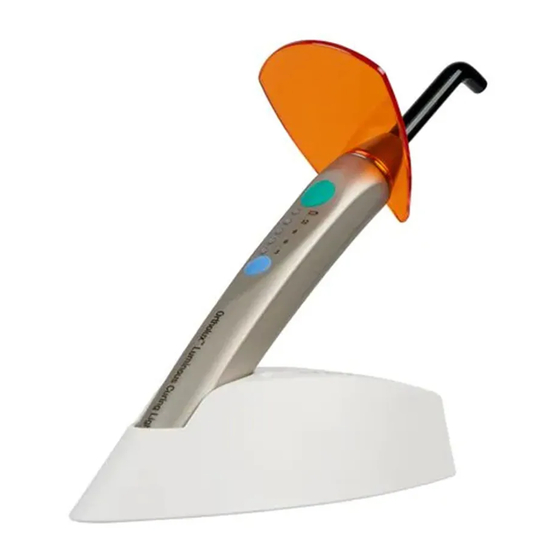
3M Unitek Ortholux Luminous Curing Ligh Manuel d'utilisation - Page 10
Parcourez en ligne ou téléchargez le pdf Manuel d'utilisation pour {nom_de_la_catégorie} 3M Unitek Ortholux Luminous Curing Ligh. 3M Unitek Ortholux Luminous Curing Ligh 16 pages. Fast curing cordless led light

Error
The LED showing the
operating status in the
charger glows red steadily.
Maintenance and Care
The Ortholux Luminous Curing Light is maintenance-
free with the exception of cleaning the light guide and
replacing batteries as needed. The light output should
be checked on a regular basis, i.e. daily, using the
integrated light intensity testing area on the charging
base. See the information contained in this chapter
to secure problem-free operation. There are no user
serviceable parts on the unit. If the unit malfunctions
and the trouble shooting steps above do not remedy the
situation, call 3M Unitek Customer Service.
Inserting/Removing the Battery
Never place the handpiece in the charger without the
battery inserted in the handpiece!
Use 3M Unitek batteries only! The use of other
manufacturer batteries or non-rechargeable batteries/
primary batteries is a potential hazard and may
damage the unit.
• Remove the battery from the handpiece by turning
it counter-clockwise as shown. (Page 6)
• Insert the (new) battery into the handpiece and turn
it clockwise until the seal is firmly pressed against
the metal housing.
• Place the handpiece in the charger for 1.5 hours in
order to fully charge the new battery for the first time.
- The LED showing the operating status on the
charger flashes green; see also "Operating
Status Display of the Charger."
Handpiece/Battery Care
• Use only the 3M Unitek charger which is provided
with the unit; failure to do so could lead to damage
to the battery!
• Do not immerse the battery in water or incinerate!
Please also observe the chapter on "Safety."
Cleaning the Light Guide
The light guide can be autoclaved.
Do not sterilize by chemical means or hot-air!
• The light guide should be regularly wiped clean
with a soft cloth. Especially before and after steam
Cause
• Solution
The charge contact pins in
the handpiece or the charger
are wet.
• Dry the charge contact
pins. Be careful not to
bend the flexible
charge contact pins in
the charger.
sterilization, the spots of dried liquid should be
wiped off the ends of the device.
• Adhering polymerized material should be removed
with alcohol, a plastic spatula may help in removing
the material.
- Do not use any sharp or pointed tools for
cleaning in order to protect the surface of the
unit from scratching.
• The protective glass of the handpiece can be
cleaned with a soft and fluff-free cloth.
Cleaning the Charger, Handpiece, and
Eye Shield
• To disinfect all components, spray the disinfectant
on a towel and use it to disinfect the unit. Do
not spray the disinfectant directly on the
handpiece or the charger.
- Disinfection agents must not enter the unit!
• Dry residual disinfectants on the charger, the
handpiece and the eye shield with a soft and fluff-
free cloth, as they damage the plastic components.
• Clean the charger, the handpiece and the eye
shield with a soft cloth and, if required, a mild
cleaning agent.
- Solvents or abrasive cleaners may not be used in
any case, as they damage the plastic components!
- Cleaning agents must not enter the unit!
- Make sure that charge contact pins remain dry
and are not contacted by metallic or greasy
parts. Do not bend the charge contact pins
during drying. Wet charge contact pins will
cause an operating error (malfunction message:
the LED showing the operating status of the
charger flashes red).
Storage of the Handpiece during
Extended Periods of Non-Use
• If the handpiece is not to be used for an extended
period of time (e.g., during vacation) fully
charge the battery prior to departure or keep the
handpiece inserted in the operational charger.
A safety switch within the battery prevents a
total discharge.
• Discharged or nearly discharged batteries must be
recharged as soon as possible.
Disposal
Your new unit contains a powerful lithium-ion
rechargeable battery. Dispose of defective batteries
and units in accordance with local legal regulations!
English
10
