DSC PowerSeries PTK5507 Manuel d'instructions d'installation - Page 2
Parcourez en ligne ou téléchargez le pdf Manuel d'instructions d'installation pour {nom_de_la_catégorie} DSC PowerSeries PTK5507. DSC PowerSeries PTK5507 8 pages. V1.0 power series

English
Installation Instructions
The PTK5507 keypad can be used on security systems with
up to 64 zones. These keypads are compatible with the lat-
est version of the Power Series V4.2+security systems.
Specifications
• Temperature range: -10°C to +55°C (14°F to 131°F)
• Humidity (MAX): 93%R.H. non-condensing
• Plastic enclosure protection degree: IP30, IK04 (touchscreen
excluded)
• Voltage rating: 12V
nominal
DC
• Connects to control panel via 4-wire Keybus
• Keybus distance: 60 m (200 ft.) (max.); keybus distance in
alarm shop
extra power mode: 33.5 m (110 ft)
• Up to 8 keypads per system
• PTK5507 Current draw: 200 mA (standby)/300 mA (acti-
vated)/ 400mA Extra Power Mode
• Wall mount tamper
• 5 programmable function keys
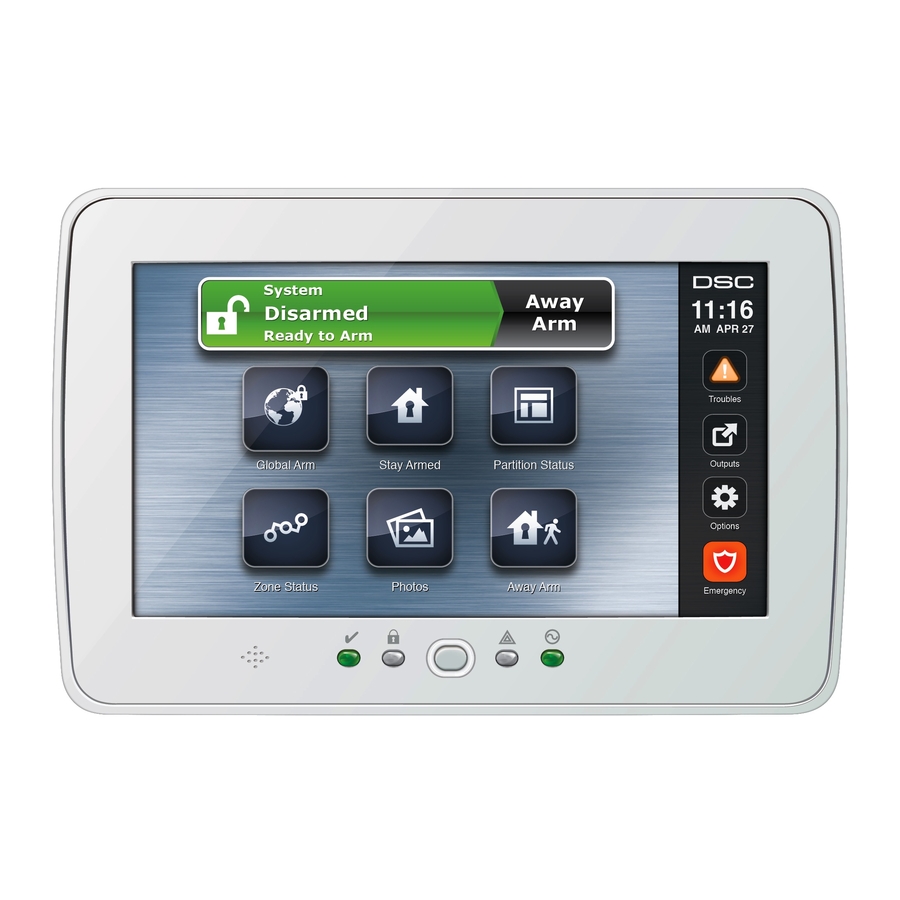
• Ready (Green LED), Armed (Red LED), Trouble (Yellow LED), AC
(Green LED)
• Touchscreen display: 8.5" x 5.1" x 0.8" [127.9 mm (L) x 195
mm (W) x 20.35 mm (D)]
• SD card slot: holds any standard Secure Digital (SD) card (32 x
24 x 2.1 mm) containing photos
• Wiring: standard four-wire connection
• Viewing angle: horizontal viewing angle: 50° (typ.)
• Vertical viewing angle: 70° (top), 70° (bottom) (typ.)
2
• Brightness: 280 cd/m
Unpacking
The Power keypad package includes the following parts
•One Power keypad
•1 tamper switch
•Five mounting screws
•Installation Instructions
•Five anchors for wall-mounting
•User Manual
screws
Mounting
You should mount the keypad where it is accessible to desig-
nated points of entry and exit. Once you have selected a dry
and secure location, perform the following steps to mount
the keypad.
Mount and Wire Keypad
1. Remove the SD card before opening the touchscreen (see
Figure 1).
WARNING: Disassembling the touchscreen without removing the
SD card will damage the unit.
2. Remove screw at the bottom of the keypad.
3. Insert screwdriver into slots and pry up to remove cover.
Figure 1 - Removing the backplate
4. Secure keypad backplate to wall using mounting holes.
(See Figure 2.) Use all 4 screws provided unless mounting
on a single gang box. Use the plastic anchors supplied if
the unit is to be mounted on drywall. If using the keypad
tamper, secure the tamper plate to the wall with a screw.
:
Figure 2 - Mounting the backplate
mounting hole
mounting hole
5. Run wire through wiring slot. Connect keybus wiring to
keypad (see Wiring section).
6. Place keypad into backplate, ensuring the wire is pushed
back into the wall as much as possible. Route the wire
inside the keypad ensuring high components are avoided.
Snap the front assembly closed, ensuring that there is no
pressure to the keypad from the wire below.
NOTE: If any tension is found between the front keypad assembly
and wiring, please open the keypad, re-route the wire and close
again. Repeat these steps until the keypad is closed properly.
Wiring
press
gently
to
push
1. Before wiring the unit, ensure that all power (AC trans-
eject
in
former, telecommunication network, and battery) is dis-
connected from the control panel.
2. Wrap the Keybus wires through the ferrite core (see Figure
3); one turn is enough. The ferrite core shall be installed as
close to the touchscreen as the installation will allow.
Figure 3 - Ferrite core
mounting hole
wiring slot
hole for
tamper
screw
mounting hole
