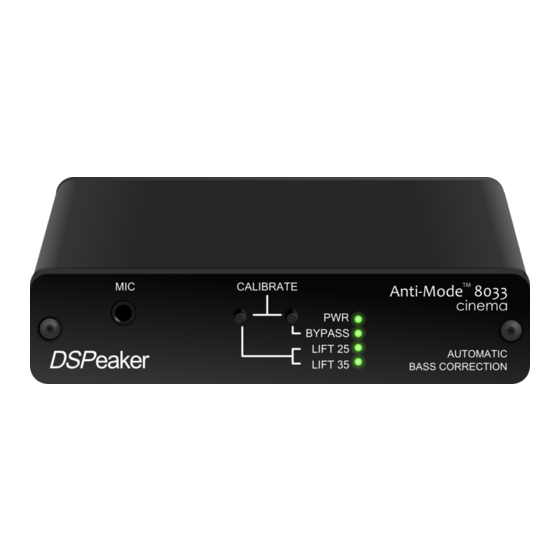
DSPeaker Anti-Mode 8033 cinema Manuel de l'utilisateur - Page 6
Parcourez en ligne ou téléchargez le pdf Manuel de l'utilisateur pour {nom_de_la_catégorie} DSPeaker Anti-Mode 8033 cinema. DSPeaker Anti-Mode 8033 cinema 12 pages. Automatic subwoofer equalizer
Également pour DSPeaker Anti-Mode 8033 cinema : Manuel de l'utilisateur (20 pages)

2. Quick setup guide
1. Connect the subwoofer signal preout to "LINE IN".
2. Connect the active subwoofer to "OUT 0" output.
3. Connect microphone plug to "MIC" jack and fix the microphone as close to the
listening position (head of the listener) as possible.
4. Connect the power supply to "9V AC" connector and wall socket.
5. Switch ANTIMODE 8033 on.
Note: All the leds on front panel are lit if the device has never been calibrated
6. Switch on the subwoofer and leave its volume setting unaltered
Figure 3: Setting up ANTIMODE 8033
2.1. Before calibration
With small reflex subwoofers, it is adviced to decrease their volume before calibration. If the
subwoofer has a builtin lowpass or other type of filter, it should be deactivated during
calibration process. It can be reactivated after calibration. Crossover and lowpass filters at
the A/V receiver do not affect calibration, since they take place before AntiMode 8033 in the
signal chain. Also any other audio equipment that may affect subwoofer signal prior to the
AntiMode 8033 do not interfere with the calibration process. As room modes may have
strong dependency of the position, it is advisable to also pay attention to the vertical
positioning (height) of the calibration microphone. The microphone is omnidirectional, so its
precise orientation doesn't matter. If you want the room correction to affect a wider area, the
first calibration point should be selected near the center of this area (or the primary listening
position). More about wider area correction in the latter section "Wider area correction".
Rev. 1.6
A
M
8033
NTI
ODE
08.01.2010
Page 6 (12)
