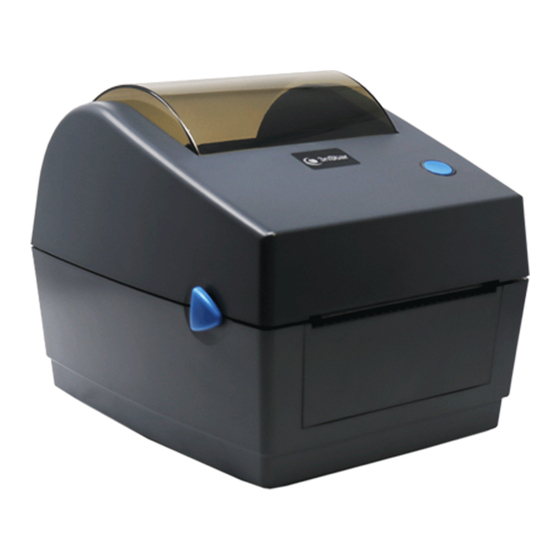
3nStar LDT104 Manuel d'installation rapide - Page 2
Parcourez en ligne ou téléchargez le pdf Manuel d'installation rapide pour {nom_de_la_catégorie} 3nStar LDT104. 3nStar LDT104 2 pages.

Diagnostic tool
The Diagnostic Utility is a toolbox that allows users to explore the printer's settings and
status; change printer settings; download graphics, fonts, and firmware; create printer
bitmap fonts; and to send additional commands to the printer. Using this convenient
tool, you can explore the printer status and settings and troubleshoot the printer.
Note: This utility works with printer firmware V1.00 and later versions.
Start the Diagnostic Tool
(1)Double click on the Diagnostic Tool icon
(2)There are 3 features (Printer configuration, File Manage ,Bitmap Font Manager,
Command Tool) included in Diagnostic utility.
Features tab
Printer functions
(3)The detail functions in the Printer Function Group are listed as below.
Function
Calibrate the sensor specified in the printer setup group media sensor field
Calibrate Sensor
Ethernet Setup
Setup the IP address, subnet mask, gateway for the on board Ethernet
Synchronize printer Real Time Clock with PC
RTC Time
Initialize the printer and restore the setting to factory defaul
Factory Default
Reboot printer
Reset Printer
Print a test page
Print Test Page
Configuration Page
Print printer configuration
To activate the printer dump mode
Dump Text
Ignore the downloaed AUTO. BAS program
Ignore AUTO.BAS
Password Setup
Set Diag Tool password
Leave Line mode
Exit Line Mode
to start the software
Diagnostic Tool.exe
Interface
Printer status
Description
03
Sensor Calibrate
1. Double click the
2. Select the PC interface
connected with bar code printer.
3.Click the "Calibrate Sensor"
button to setting.
Printer setup
4.Select the media type (Gap/Black mark /
Continue) and calibration type (Auto/
Manual) to calibrate the sensor specified
in the printer setup group media sensor
field. For the general media you only
need to select the media type then click
the "Calibrate" button.
Note:
* For more information and features about this printer, please refer to
the User's Manual inside the CD disk.
* Specifications, accessories, parts and programs are subject to the
change without notice.
icon to start the "Diagnostic Tool" software.
Diagnostic Tool.exe
②
04
①
512
2
