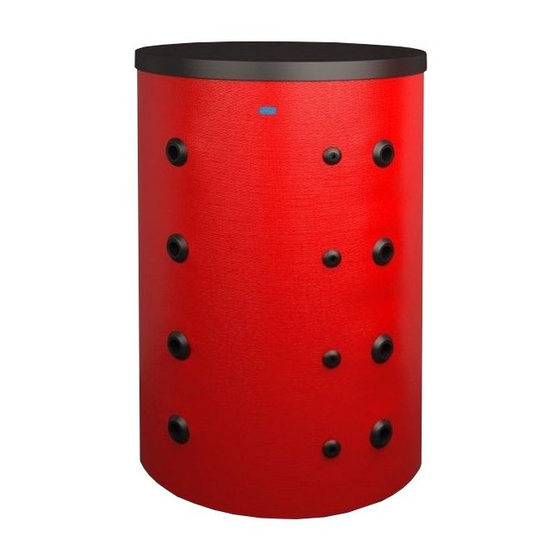
ATTACK TUV1250K Manuel d'instruction - Page 13
Parcourez en ligne ou téléchargez le pdf Manuel d'instruction pour {nom_de_la_catégorie} ATTACK TUV1250K. ATTACK TUV1250K 17 pages. The accumulation tanks ak series; as series; hr series; hrs series; tuv series; tuvs series; s series; ss series

on the heat-exchange surfaces of device. Quality of the heating water depends on the quality of the
water filled into the system by starting the operation and quality and amount of the water additionally
filled into the system. Quality of the water additionally filled into the system is defined in the STN 07 7401.
To prepare the D.H.W. in a built-in tank or an instantaneous system, it is necessary to install the
safety valve of 6 bar on the cold water inlet. It is also necessary to ensure the treatment of the
D.H.W. against the limescale and dirts from the water distribution network.
Hardness of water cannot exceed 5 mval / l. Warranty does not relate to the blockage of the tank
or the flow copper exchanger by a limescale.
7. MAINTENANCE
To clean the external parts of the tank you need a wet cloth and a suitable detergent. Never use
abrasive cleaners, diluents, petroleum-based cleaners, etc.
Check the tightness of joints on the flange of the HR, HRS tank at least once a year, eventually
fix the nuts. If there is untightness even after fixing the nuts, replace the sealing under the flange.
Maintenance of the accumulation tank HR, HRS concerns test and replacement of the anode rod.
The magnesium anode adjusts the electric potential inside the tank to the value preventing cor-
rosion of the tank. Theoretical life-time of the anode takes 2 years of operation, but it changes ac-
cording to the callosity and the chemical composition of water at the place, where the tank is used.
It is recommended to make a test every 6 months and in the case of need, to replace the anode rod.
This additional protection element should be considered as important.
Procedure of replacement of the anode rod:
1. Discharge approximately 1/3 of the water in the tank
Procedure: close the valve at the water inlet into the tank,
open the valve of hot water on the mixing tap,
open the discharge valve of the tank.
2. Undo the upper cover of the accumulation tank.
3. Use a suitable tool to screw the anode out.
4. Install a new anode and mount the dismantled parts back.
5. Fill the tank with water, pressurize it and check the tightness.
The anode must be replaced only by a specialized service company!
8. DISPOSAL
Packaging must be disposed following the valid prescriptions.
After expiration of the lifetime it is necessary to dispose the product in conformity with the legal
prescriptions.
ACCUMULATION TANKS
13
