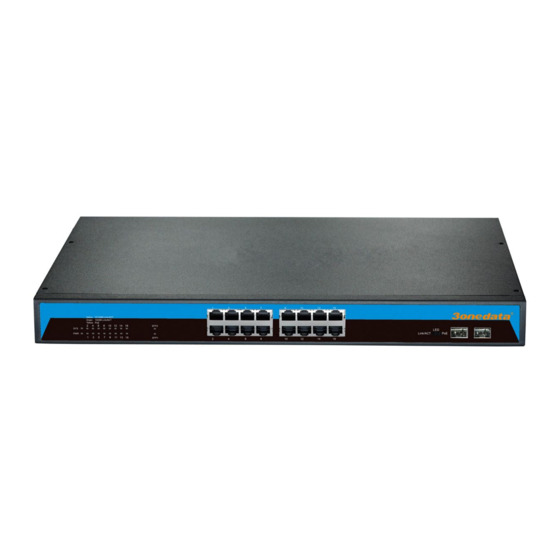
3onedata ES5018 Manuel de l'utilisateur - Page 8
Parcourez en ligne ou téléchargez le pdf Manuel de l'utilisateur pour {nom_de_la_catégorie} 3onedata ES5018. 3onedata ES5018 20 pages.

4)
Safe ground connection for the cabinet or desktop.
Installation Tools
1)
Flathead screw driver
2)
Cross screw driver
3)
Anti-static wrist strap
Installation
1.Install the Switch
1.1 Install the switch on a 19 inch standard cabinet
1) First fix the provided two L-shaped brackets on the two sides of switch.
2) Fix the switch on the rack with screws(screws are not provided).
1.2 Install the switch on the desktop
When there is no 19 inch standard cabinet, the switch is usually put on clean desktop. The operation is easier,
please follow the below instructions:
1)
Keep the desktop stable and safely grounded.
2)
Set aside 10cm space around switch for heat dissipation.
3)
Don't put any heavy device on the switch.
2.Connect the power cord and grounded cord
2.1 Select of AC Power Socket
The neutral one-phase 3-wire power socket is advised to adopt, or the multifunctional PC power socket. The
neutral point of power supply must be well grounded, please check the grounded power supply before operation.
2.2 Connection of AC power cord
Step one: please connect one end of power cord to the power jack on the switch rear panel,
Connect the other end to the AC power socket.
Step two: check the power indicator(PWR) on the front panel, if the LED is on, connection is
Successful.
3.Test after Installation
Make sure the working voltage is the same with the rated voltage of switch.
Check the connection of grounded cord.
Check the connection of configuration cable and power input cord.
If the interface cable is partly deployed outdoor, please check the connection of anti-thunder
AC power strip and interface anti-thunder device.
5
User manual
