ATZ ATZ FO-MC-CHASSIS-14 Manuel - Page 3
Parcourez en ligne ou téléchargez le pdf Manuel pour {nom_de_la_catégorie} ATZ ATZ FO-MC-CHASSIS-14. ATZ ATZ FO-MC-CHASSIS-14 8 pages.
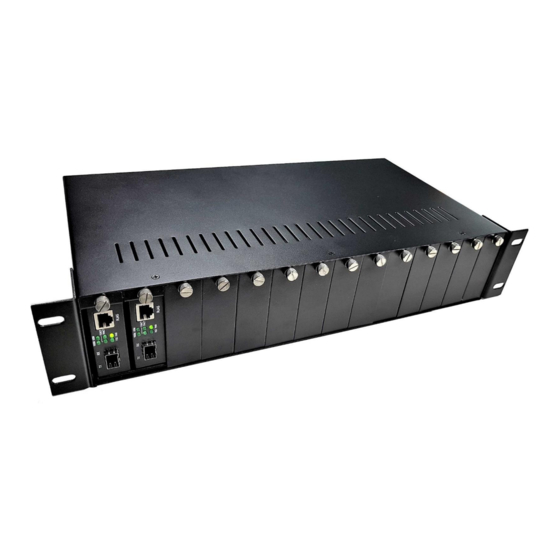
Model
: ATZ FO-MC-CHASSIS-14
Description : 14 Slots Media Converter Rack, For Fiber Media Converters, Dual Power
Supply Included
Installation of the Chassis and Media Converters:
1. Mount the ATZ FO-MC-CHASSIS-14 chassis into a standard 19 inch rack cabinet or enclosure
utilizing the integrated rack mount ears. Secure the chassis with 4 rack screws (not included)
that typically come with 19 inch rack products.
2. Plug the provided power cords into each of the power supplies then plug them into the nearest
AC outlet
3. Switch on both of the power supplies to verify you have power available and confirm that the
supplies are functioning correctly. The Green LED and cooling fan should turn on if functioning
correctly.
Note: It is normal for the audible alert to sound briefly when first turning on the power supply units
4. Remove the blank plates from the face of the chassis as needed for the quantity of media
converters you are planning to install.
(The blank plates come in 2 sizes the first two cover one slot each and the remaining 3 plates cover
4 slots each)
5. Locate the package of media converter retention brackets included with the chassis
6. Before installing the bracket onto one of the HD series Media Converters place the media
converter on its side with the DC jack and the air vent facing up (See Figure. 2).
pg.
3
Notes
: - All brand names and trademarks are properties of their respective holders and are referred to here for descriptive purpose only. Photo attached is for reference only, it may be
slightly varied in items of colour, shape from the actual item delivered from time to time.
All specifications are subject to change without prior notice.
© Copyright