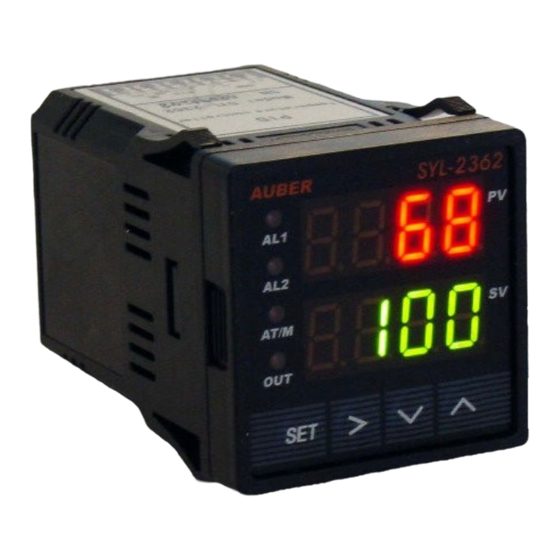
Auber Instruments SYL-2362A2 Manuel d'instruction - Page 5
Parcourez en ligne ou téléchargez le pdf Manuel d'instruction pour {nom_de_la_catégorie} Auber Instruments SYL-2362A2. Auber Instruments SYL-2362A2 6 pages.

AUBER INSTRUMENTS
mode, press and hold SET key until the "AT/M" indicator turned off. This controller
offers "bumpless" switch from the PID to manual mode. If the controller outputs
75% of power at PID mode, the controller will stay at 75% when it is switched to
the manual mode, until it is adjusted manually.
9. Limit control mode.
The Limit control mode will shut the heater off when SV is reached. The heater will
not be turned on again until the controller is reset manually (press the SET key for
5 seconds). When powered on, it will not start the heating until reset button is
pressed. The controller can't be reset when the temperature is within Hysteresis
Band (Hy).
To use the Limit control mode, set outy to 5 or 6. Then, set the Hy to the range that
you want reset to be blocked. To start the heating or cooling, press SET key for 5
second or until the output indicator is on.
PV
10 0
97
Start
Rela y on
Figure 9. Limit control mode
10. Application Example
10.1 A water tank needs to be controlled at 150.0 ° F. Alarm 1 will go off if T >
155.0 ° F, Alarm 2 will go off, if T> 170.0 ° F. The power source is 240V AC. The
heating element is switched by a SSR. A Pt100 RTD sensor with 0.1° resolution
input is used as the temperature sensor.
a. Wiring diagram
L1
240VAC
L2
Fuse
Figure 10. Typical wiring set up for beer brewing and bird incubator. For smoker
control, the RTD sensor should be replaced by K type thermocouple
b. Parameter setting. These are the parameters that need to be changed from
the initial value: Inty=P10.0, SV=150.0 ° F, AH1=155.0 ° F, AL1=154.0 ° F,
AH2=170.0 ° F, AL2=169.0 ° F.
Auto-tune is used to set the PID parameters. Power up the controller. Press and
hold the > key until "AT" starts to blink. The controller starts the Auto-tuning. When
2021.10
SV
outy=5, SV=100, Hy=3. The
SV-Hy
heating stops after it reached 100
degree.
Heater
RTD
2
1
SSR
3
4
+ -
W
R
R
240V buzzer
6
7
8
9
10
11
13
J2
12
14
2
4
5
1
3
J1
Alarm1
240V buzzer
the "AT" stops blinking, the new PID parameters are generated for the system.
The controller is in normal operation mode. The tank will be maintained at 150.0 ° F.
Please note that you don't not have to wire or set the alarm to control the
temperature.
10.2 A furnace needs to be controlled at 1200 ° F. The power source is 120V AC.
The heating element is 1800W/120V. It is switched on/off by a contactor. The coil
voltage of the contactor is 120V AC. A K type thermocouple is used as the
temperature sensor.
a. Wiring diagram
Figure 11. Typical wiring set up for powder coating oven and kiln. This diagram
also applies to 240V AC power system, if both the heater and the coil voltage of
the contactor are 240V AC.
b. Parameter setting. These are the parameters that need to be changed from the
initial value: outy=1 for PID mode with J2 relay output; ot=20 to increase the relay
life time; SV=1200 ° F for the target temperature.
10.3 Drive a 24VAC solenoid valve directly in heating mode
A 24VAC solenoid valve is switched by J2 relay in on/off mode. The valve will be
on until temperature reaches 200 ° F. Then, it will shut off. When the temperature
drops to below 195 ° F, it will be on again. Power source is 120V AC. A K type
thermocouple is used as the temperature sensor.
a. Wiring diagram
Alarm2
6
1
Figure 12. Typical wiring set up for a 24V gas, hot water valve, or a contractor with
24V coil voltage
b. Parameter setting. These are the parameters that need to be changed from the
initial value: outy = 4 for on/off mode with J2 relay output; Hy = 5 degree,
SV=200° F for the target temperature. Note, if this is to control a contactor with 24V
coil, PID mode should be used. The setting should be same as example 2 except
the SV value.
WWW.AUBERINS.COM
K type TC
+ -
7
8
9
10
11
13
J2
12
14
S
2
4
5
3
L
Fuse
120VAC
N
24VAC
Solenoid valve
P5/6
