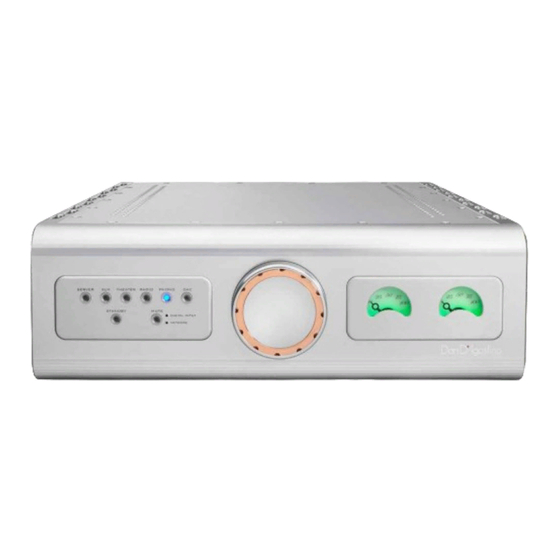
Dan D'Agostino PROGRESSION Manuel du propriétaire - Page 5
Parcourez en ligne ou téléchargez le pdf Manuel du propriétaire pour {nom_de_la_catégorie} Dan D'Agostino PROGRESSION. Dan D'Agostino PROGRESSION 14 pages.

MAKING CONNECTIONS TO THE
PROGRESSION INTEGRATED AMPLIFIER
Speaker cables
Install the speaker cables first. We recommend the use of high-quality cables terminated with
spade or ring lugs that will fit the Progression Integrated Amplifier's binding posts. Banana plugs
may also be used. Note that the positive (+) binding post has a red ring and the negative (-)
binding post has a black ring. Double check to confirm that you are connecting your speaker
cable's conductors to the appropriate binding posts—red to positive, black to negative. If your
cables are marked to show desired signal flow, orient the cable so that the installation conforms
to the cable manufacturer's instructions.
To install speaker cables tipped with spade lugs or rings, use a binding post wrench to carefully
loosen each speaker binding post. Turn counter-clockwise to loosen. If using spade lugs, insert
each spade lug so that its two tines straddle the binding post, then tighten the binding post nut
with the binding post wrench. If using rings, remove the binding post nut entirely, place the ring
on the binding post, then replace the nut and tighten it securely. A firm connection, tight enough
that the spade lug or ring cannot move, is all that's needed. Too much torque could damage the
binding posts. Do not use a conventional wrench to tighten the binding posts.
Interconnect cables
We recommend the use of high-quality balanced XLR audio interconnect cables. If you have a
source device that does not offer XLR connections, use high-quality RCA cables. If you need RCA
to XLR adapters, please contact your Dan D'Agostino Master Audio Systems dealer.
Connect the source devices (phono, CD player, etc.) to the appropriate inputs. Connect either
RCA or XLR cable to the appropriate jack by pushing the plug into the jack. To release an XLR
plug, push on the small tab atop the jack and gently detach the plug. Never grasp interconnect
cables by the cable itself—you could damage the cable. Be sure to connect the left channel to
left channel and the right channel to right channel. Note: The input labeled Phono is a standard
line level input and does not include the circuitry necessary for turntable playback unless the
optional phonostage module is installed.
Optional phonostage module
If the optional phonostage module is installed in the Progression Integrated Amplifier, connect
the turntable to the phono input. Do not connect any other source to this input if the phonostage
module is installed. The phonostage module supports moving-coil cartridges and offers a variety
of loading options via dip switches. Please consult your phono cartridge owner's manual for the
ideal selection. Adjust the dip switches to match your phono cartridge's loading suggestion
according to the chart on the following page. The dip switches to adjust are inside of the
Progression Integrated Amplifier. To adjust, open the top cover by removing the (10-32x3/8")
screws using a T20 Torx hex key wrench. Inside located directly behind the phono input button,
on the inside of the front panel is the plug-in Phono Module. There are two dip switches that
must be set the same for the carttridge that is being used.
6
Phono Card Load Options
10kΩ
5kΩ
Sw1
ON
OFF
Sw2
OFF
ON
Sw3
OFF
OFF
Sw4
OFF
OFF
Sw5
OFF
OFF
Optional digital module
The optional digital module has connections for optical, coaxial, and USB digital cables. An
Ethernet connection via RJ45 and a WiFi antenna input are also included. One of these must be
used as a network connection and is required to utilize the digital module's in-house network
capability, and an Internet connection is needed to access streaming services such as Tidal,
Quobuz, or Spotify. If available, we recommend using the hard-wired Ethernet connection.
Alternatively, attach the WiFi antenna for wireless operation.
The Ethernet cable pushes into the connector and locks. To remove the cable, press the tab on
the underside of the connector and gently pull the cable out.
AC cord
The Progression Integrated Amplifier power supply is supplied with a high-quality AC cord tipped
with a 15-amp IEC connector at the amplifier end and a three-conductor AC plug at the other
end. You may use a different power cord, as long as it is tipped with a 15-amp IEC connector
and a three-conductor AC plug. After the speaker cables, interconnect cables, and power supply
connector cable are connected, push the IEC connector on the power cord into the IEC socket
on the Progression Integrated Amplifier. We recommend that you do not plug the Progression
Integrated Amplifier or any other Dan D'Agostino Master Audio Systems product into a power
strip or power conditioner.
12-volt trigger outputs
These 3.5 mm jacks transmit a 12-volt DC control signal. The 12-volt trigger output connects to a
12-volt input on any device that accepts a 12-volt DC control input and will move the connected
component to/from standby mode.
RS-232 input
This DB9-type input allows the amplifier to be controlled by home automation systems that use
RS-232 protocol. Consult your D'Agostino Master Audio Systems dealer for more information.
1kΩ
500Ω
200Ω
47kΩ
OFF
OFF
OFF
OFF
OFF
OFF
OFF
OFF
ON
OFF
OFF
OFF
OFF
ON
OFF
OFF
OFF
OFF
ON
OFF
7
