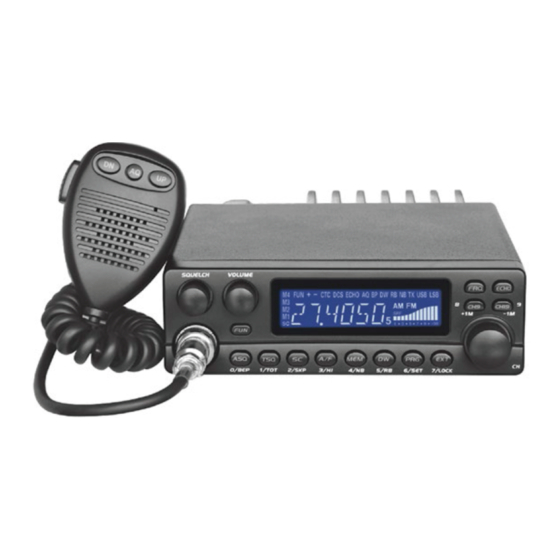
AnyTone AT-5289 Manuel de l'utilisateur - Page 8
Parcourez en ligne ou téléchargez le pdf Manuel de l'utilisateur pour {nom_de_la_catégorie} AnyTone AT-5289. AnyTone AT-5289 13 pages.

Press FUN, the LCD display "FUNC", when "FUNC" disappear, press
A/F. The LCD displays "XXX", then turn the channel knob to choose the
TX power, press any other key to exit.
Optional TX power FM: 4W. 15W. 50W Default: 4W AM: 4W. 15W
MEM key
81
MEM (Memory channel)
Press MEM key, the radio will work in channel store mode, you can add
8 channels to it.
You can store any channel inside any band, for example, if you want to
store the E band channel 9 to MEM 2, the steps are
A. Change to E band 9CH, then hold and press MEM for over 2
seconds, the LCD will display "MEM" and flashes.
B. Turn channel knob to choose MEM2.
C. Hold and press MEM for over 2 seconds to confirm the setup and
exit. The storage is done.
NB (Noise blanker)
Press FUN, the LCD display "FUNC", when "FUNC" disappear, press
MEM, the LCD displays "NB", the NB/ANL function is turned on, press
the MEM key again to turn this function off.
DW key
91
DW (Dual watch function)
Turn channel knob to choose first channel, then press DW, the LCD
display "DW' and flashes, then turn channel knob again to choose
second channel, then press DW key to enter Dual watch function. Press
any key to exit dual watch.
RB (Roger beep function)
Press FUN, the LCD display "FUNC", when "FUNC" disappear, press
DW, the LCD displays "RB XXX", turn the channel knob to choose the
RB sound you need. Press any other key to exit. When any RB sound be
choose, the LCD will displays "RB"
Note: RB sound can be programmed by software, 8 groups in total.
PRG key
111
PRG (Programming)
Press PRG key to enter channel data menu. You can change the
channel data by turning the channel knob, the programming is for single
channel. Press EXT to exit this function.
For example if you want to change the DCSSN754 code into E BAND
9CH, following:
A. Turn the channel to E BAND 9CH.
B. Press PRG
C. Turn channel knob to choose TXC menu.
D. Press PRG key, the LCD display CTC or DCSN or DCSI or OFF,
turn channel knob to choose DCSN
E. Press PRG to show the group number of DCSN, turn channel knob
to choose 754N
F. Press PRG key to exit and store the DCS number.
G. Press EXT key to exit channel data edit.
The menus available in the PRG .
A. RXC the signaling for RX: CTC, DCSN , DCSI, OFF
B. TXC the signaling for TX : CTC, DCSN, DCSI, OFF
Note:If no optional CTC board installed, this 2 menu will not exist.
C. RB: On, Off
D. ECHO: On, Off
E. NB: On, Off
F. SCAN: Add, delete
G. BUSY: Busy channel lock.
H. PFM: FM power choose
I. PAM: AM power choose
Note1:H. I, 2 menu will show only one of them that you use at present.
Note2: The channel data can be changed also by FUN key+ function buttons,
they are same.
SET (Function menu setup)
5
