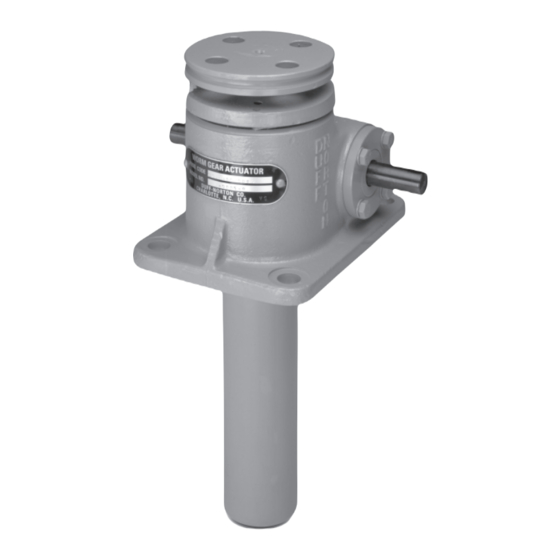
Duff-Norton SK-2389-T Manuel d'installation, d'utilisation et d'entretien - Page 7
Parcourez en ligne ou téléchargez le pdf Manuel d'installation, d'utilisation et d'entretien pour {nom_de_la_catégorie} Duff-Norton SK-2389-T. Duff-Norton SK-2389-T 12 pages. Translating machine screw actuators

WARNING
Provide adequate ventilation during the use of cleaning
agents; avoid prolonged breathing of fumes and contact
with skin.
2. Use clean hot water or a soap solution for general
cleaning of painted surfaces.
3. Dry parts thoroughly after cleaning.
NOTE
Before installing new parts, remove any rust preventive,
protection grease, etc.
2-6. Inspection (Refer to Figure 3-1)
Inspect actuator parts as follows:
1. Make a visual inspection of shell (3) for broken,
cracked or distorted areas. Check threads of all
bores for burrs or broken threads.
2. Check shell cap (2), base plate, bottom pipe (4),
lifting screw (5), worm gear (6A) or worm gear and
nut assembly (6B) for burrs or scratches on their
working or mating surfaces.
3. Check fit between lifting screw thread and internal
thread in worm gear. If fit is excessively loose,
replace worm gear or lifting screw as required.
Replace worm gear and nut assembly as a set [4800
(5800) and 9400 (10400) Series].
4. Check small common components (screws, etc.) and
replace as required.
5. Check bearings (7), (8) and (15) for seizure, galling
or play and replace as required.
2-7. Assembly (Refer to Figure 3-1)
1. Press worm bearings (15) onto worm shaft (14),
making sure that bearings are seated properly
against shoulder.
NOTE
When tapered roller bearings are used, the small end
of the cone should point to the worm end.
2. Position worm shaft end (14) in shell (3).
NOTE
If tapered roller bearings are used, tap worm bearing
cups into place in the shell.
3. Press oil seals (13) into worm flange (11).
NOTE
The sealing element should point inward.
4. Position worm flanges (11) with shims (12) and bolt
in place.
5. Position bottom load bearing (8) or bearing cup in
shell (3).
5a. On 5-ton, 35-ton and 75-ton models, press load
bearing cones onto worm gear (6A) or worm gear
and nut assembly (6B).
6. Install worm gear (6A) or worm gear and nut
assembly (6B) in shell (3).
NOTE
Strike each end of worm shaft sharply with a soft face
hammer to seat bearing properly. Recheck flange bolts
for tightness. Worm should turn freely with minimum
drag and end play. If too much end play is present,
remove shims as required. If worm does not turn freely,
add shims as required.
7. Install top load bearing (7) or bearing cup on worm
gear (6A) or worm gear and nut assembly (6B).
8. Fill housing fully with grease.
9. Install shell cap (2) and screw down until tight.
NOTE
Shell cap flange does not necessarily have to bear
against top of shell, there will usually be a gap. This will
put a slight drag on the worm. If worm is hard to turn,
back off slightly on the shell cap.
10. Lock base plate in place with set screws.
NOTE
If new parts have been installed, it may be necessary
to respot holes for these screws.
11. Screw bottom pipe (4) into shell (3) (upright models)
or into shell cap (2) (inverted models).
12. Brush lifting screw (5) with a light film of grease and
install in actuator. On inverted models, install guide
bushing (16) and then install lifting screw (5).
13. If actuator is keyed, install key in shell cap (2) and
bolt in place.
14. Operate unit to ensure proper functioning of all
components prior to reinstallation.
2-8. Anti-Backlash Nut Function
As shown in Figure 2-1, the worm gear (2) and anti-
backlash nut (3) are pinned together with guide pins. The
threads in the anti-backlash nut work in opposition to the
threads in the worm gear as they engage the threads
of the lifting screw (1). Adjustment of backlash is made
by running down on the shell cap of the actuator. This
forces the anti-backlash nut threads into closer contact,
reducing clearance and thus reducing backlash.
7
