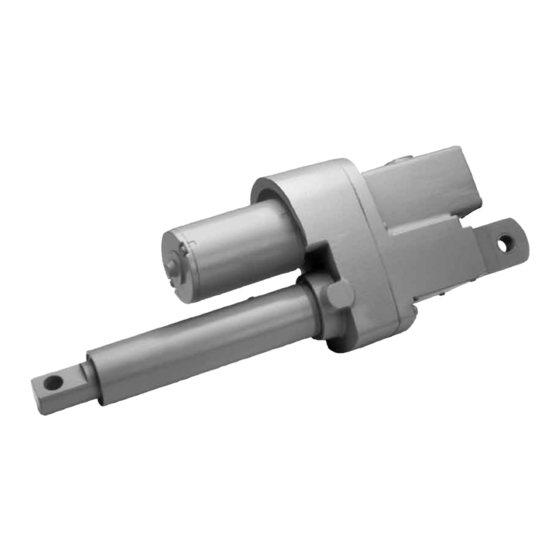
Duff-Norton TracMaster 6415 Series Manuel - Page 9
Parcourez en ligne ou téléchargez le pdf Manuel pour {nom_de_la_catégorie} Duff-Norton TracMaster 6415 Series. Duff-Norton TracMaster 6415 Series 16 pages.

damage to bearing).
3. Press bushing (34) into housing (42).
4. Install input pinion (29) and bearing assembly (30) in
housing (42) (press load should be applied to outer
ring of bearing to prevent damage to bearing).
5. Assemble coupling (47) on input pinion (29) and
install retaining ring (48).
6. Brake Assembly
a. Grease O.D. of spring (49) and pocket of insert
(51) (chamfered end) with Aeroshell #6 grease.
When using replacement parts, make sure you have
correct spring. Red spring designates DC unit.
b. Install spring (49) into insert (51) pocket
(chamfered end).
c. Align pinion coupling (47) and spring (49) as
shown in Figure 6-1A and press insert (51)
and spring (49) assembly into housing (42)
(alignment must be as shown in Figure 6-1A).
7. Press bushing (34), bushing (6) and flange bearing
(25) into cover (9).
8. Assembly of Limit Switch Components (refer to
Figure 6-3).
a. Assemble insulation (19), limit switch (16) and
screw (15) on limit switch bracket (21).
Limit switch (16) leads should face each other.
Insulation (19) should be folded up and behind
common terminal of switches (16). See Figure 6-3.
b. Assemble limit switch nuts (23) on limit switch
shaft (22) (care should be taken not to cross-
thread nuts). Nut hubs should be facing away
from each other. See Figure 6-3.
c. Assemble worm (24) on limit switch shaft (22).
Unthreaded hub on worm should be away from
limit switch shaft (22) threads. (See Figure 6-3.)
9. Assembly of Limit Switch Components in cover.
Refer to Figures 6-2 and 6-3.
Cover (9) should be in a soft-jaw vise with limit switch
box cover up.
10. Assemble limit switch bracket (21), insulation (19) and
switch (16) assembly into cover (9) with screws (20).
11. Assemble limit switch shaft (22), limit switch nuts (23)
CAUTION
NOTE
NOTE
and worm (24) assembly into cover (9). Tilt shaft and
insert into I.D. of bushing (34). Then straighten and
assemble shaft into flange bearing (25).
Worm (24) should be facing up toward flange bearing
(25). See Figure 6-3 (shaft will be loose in cover).
12. Attach red terminal wire (17) to common terminal of
left side switch (16). Attach blue terminal wire (18) to
common terminal of right side switch (16). Feed ends
of terminal wires (17) and (18) through 5/8" dia. hole
into cover (9) capacitor box.
13. Press guide bushing (59) and wiper scraper seal (60)
into outer tube (55). (Scraper part of scraper seal
should be facing outward away from guide bushing.)
14. Install the stop pin (63) in the end of the lifting screw
(62), taking care to center the pin in the screw.
15. Screw the lifting nut (64) on to the lifting screw (62)
with the flange end away from the stop pin (63).
16. Fill the translating tube (66) approximately 1/2 to 3/4
full with Duboise M.P.G. grease (no substitutes).
17. Slide the translating tube over the lifting screw (66)
and on to the lifting nut (64), lining the four holes in
the translating tube up with the four holes in the lifting
nut (64). Install pins (65) flush with translating tube
O.D.
18. Assemble washer (44) and gear spacer (43) on
screw (62). Install key (40) in key groove of screw.
19. Clamp sides of housing (42) in vise (use soft jaws
with input pinion up).
20. Install screw (62), gear spacer (43), washer (44),
translating tube (66), and tube nut (64) assembly into
housing (42) through bushing (34).
21. Apply a generous amount of Aeroshell #6 grease (no
substitutes) to thrust washers (35) and thrust bearing
(36) and assemble over gear spacer (37).
22. Aligning keyway in output gear (39) with key (40)
in screw (62), assemble output gear (39) on screw
(counter-bore in gear facing up away from thrust
bearing).
23. Clamp screw (62) between soft jawed vise. Thread
spacer nut (37) on screw (62) and tighten against
output gear (39). Spacer nut flange should be in
counterbore of output gear. Do not grip on bearing
journal of spacer nut when tightening spacer nut.
24. Check alignment of tapped holes in spacer nut (37)
with holes in output gear (39). Use two 9/64 dia. pins
approximately 11/2" long. One pin should drop into
9
NOTE
