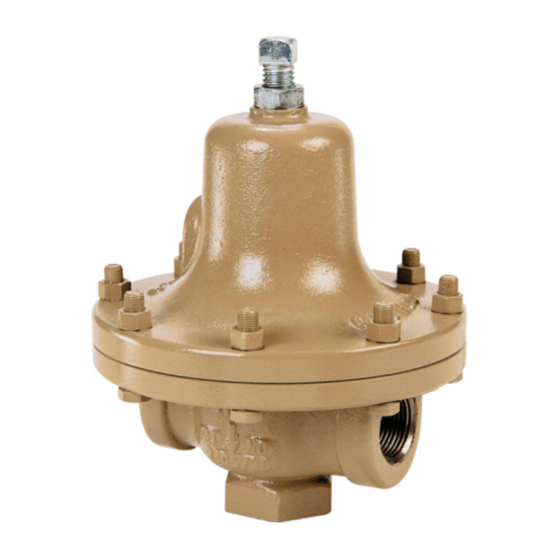
cashco 1164 Manuel d'installation, d'utilisation et d'entretien - Page 2
Parcourez en ligne ou téléchargez le pdf Manuel d'installation, d'utilisation et d'entretien pour {nom_de_la_catégorie} cashco 1164. cashco 1164 8 pages. Back pressure / relief regulator
Également pour cashco 1164 : Manuel d'installation, d'utilisation et d'entretien (9 pages)

For welded installations, all internal trim parts, seals and
diaphragm(s) must be removed from reg u la tor body prior to
welding into pipeline. The heat of fusion welding will dam-
age non-metallic parts if not re moved. NOTE: This does
not apply to units equipped with extended pipe nip ples.
9. Regulator may be installed in a vertical or hor i zon tal
pipe. If it is a steam system, assure the piping is
properly trapped and oriented.
10. Regulator may be rotated around the pipe axis
360°. Rec om mend ed po si tions are with spring
III. PRINCIPLE OF OPERATION
1. Movement occurs as pressure variations register
on the diaphragm. The registering pressure is the
inlet, P
or upstream pressure. The range spring
1
opposes diaphragm movement. As inlet pressure
drops, the range spring pushes the diaphragm
down, closing the port; as inlet pressure in creas es,
the di a phragm push es up and the port opens.
IV. STARTUP:
1. Start with the block valves closed. A bypass valve
may be used to maintain system pressure without
changing the following steps.
2. Relax the range spring by turning the adjusting
screw counterclockwise (CCW) a minimum of
three (3) full rev o lu tions. This reduces the inlet
(upstream) pressure set point.
3. If it is a "hot" piping system, and equipped with a
bypass valve, slowly open the bypass valve to pre-
heat the system piping and to allow slow expansion
of the piping. Assure proper steam trap operation
if installed. Closely monitor inlet (up stream) pres-
sure, via gauge, to assure not over-pressurizing.
NOTE: If no bypass valve is in stalled, extra cau-
tion should be used in starting up a cold system;
i.e. do everything slowly.
4. Crack open the inlet (upstream) block valve.
5. Slowly open the outlet (downstream) block valve
ob serv ing the inlet (upstream) pressure gauge.
Determine if the regulator is fl owing. If not, slowly
rotate the regulator adjusting screw coun ter -
clock wise (CCW) until fl ow be gins.
6. Continue to slowly open the outlet (downstream)
block valve until fully open.
2
CAUTION
chamber ver ti cal upwards, or hor i zon tal. Ori ent
such that the spring chamber vent hole does not
collect rain wa ter or debris.
11. Regulators are not to be direct buried un der -
ground.
12. For insulated piping systems, recommendation is
to not insulate regulator.
13. Spring Chamber Vent Tap - Option 1164-25: 1/4"
NPT Vent. Leave connection vented to at mo sphere
or pipe to outside or sump (the later if fl uid through
valve is toxic or could present a hazard) de pend ing
on the application and the controlled fl uid.
SECTION III
2. A complete diaphragm failure may cause the valve
to fail closed. A cracked metal diaphragm will leak
fl uid thru the vent hole of the spring chamber, but
will continue to operate.
SECTION IV
7. Observing the inlet (upstream) pressure gauge,
ro tate the adjusting screw clockwise (CW) slowly
until the inlet pres sure begins to rise. Rotate CW
until the desired setpoint is reached.
8. Continue to slowly open the inlet (upstream) block
valve. If the inlet (upstream) pressure exceeds
the desired set point pressure, rotate the adjusting
screw CCW until the pressure decreases.
9. When fl ow is established steady enough that both
the outlet and inlet block valves are fully open, begin
to slowly close the bypass valve if installed.
10.
Develop system fl ow to a level near its expected
normal rate, and reset the regulator setpoint by
turning the ad just ing screw CW to increase inlet
pressure, or CCW to reduce inlet pressure.
11.
Reduce system fl ow to a minimum level and
ob serve setpoint. Inlet pressure will rise from the
setpoint of Step 9. (Ensure that this rise does not
exceed the stated upper limit of the range spring by
greater than 50%; i.e. 30-80 psig (2.07-5.52 Barg)
range spring, at max i mum fl ow the inlet pres sure
should not ex ceed 1.5 x 80 psig (5.6 Barg), or 120
psig (8.3 Barg). If it does, consult factory.)
12.
Increase fl ow to maximum level if possible. Inlet
(up stream or P
setpoint as necessary at the normal fl ow rate.
) pressure should fall off. Readjust
1
IOM-1164
