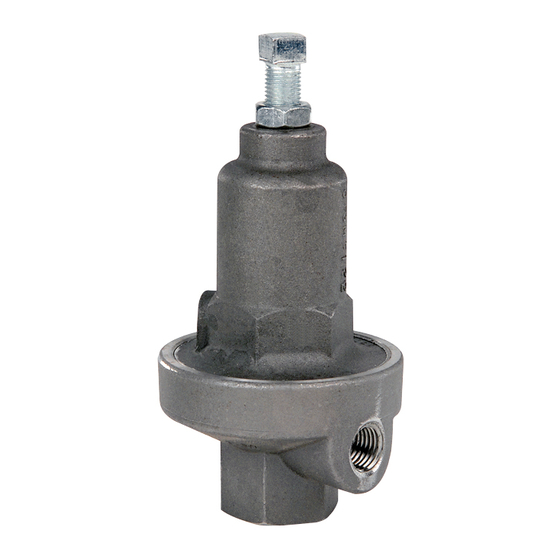
cashco 1465 Manuel d'installation, d'utilisation et d'entretien - Page 5
Parcourez en ligne ou téléchargez le pdf Manuel d'installation, d'utilisation et d'entretien pour {nom_de_la_catégorie} cashco 1465. cashco 1465 9 pages. Pressure reducing regulator

2. Leakage through the spring chamber vent hole.
Possible Causes
A. Normal-life diaphragm failure.
B. Abnormal short-life diaphragm
failure.
3. Regulator can't pass sufficient flow.
Possible Causes
A. Regulator undersized.
B. Plugged trim.
C. Incorrect range spring(screwing in
CW of adjusting screw
does not allow bringing pressure
level up to proper level).
D. Too much droop
E. Cavitation
4. Excessive pressure downstream.
Possible Causes
A. Regulator not closing tightly.
B. Downstream block.
C. No pressure relief protection.
D. Restricted diaphragm movement.
5. Sluggish operation.
Possible Causes
A. Fluid too viscous.
6. Excessive seat leakage.
Possible Causes
A. Foreign matter on seating surface,
erosion of seating surface.
B. Cavitation
7. Leakage out of threaded connection between body and spring chamber.
Possible Causes
A. Insufficient spring chamber torque.
B. Damaged o-ring
IOM-1465
A. Replace diaphragm
B1. Can be caused by excessive chattering. See No. 1 to remedy
chatter.
B2. Can be caused by corrosive action. Consider alternate diaphragm
material.
B3. For composition diaphragms, ensure not subjecting to over-
temperature conditions.
B4. Downstream (outlet) pressure buildup occurring that overstresses
diaphragms. Relocate regulator or protect with safety relief valve.
A1. Confirm by opening bypass valve together with regulator.
A2. Check actual flow conditions, re-size regulator; if regulator
has inadequate capacity, replace with larger unit.
B.
Remove regulator from line and check for debris in inlet
connection.
C. Replace range spring with proper higher range. Contact factory.
D1. Review droop expected.
D2. Contact factory.
E. Use multiple 1465's in series to stage the pressure drops. Refer
to 1465 Technical Bulletin for water cavitation chart.
A. Inspect the seating. Check the plug (3), plug spring (4), and spring
seat (5) are centered in body (1) cavity. Replace regulator should
these steps not remedy.
B. Check system; isolate (block) flow at regulator inlet - not outlet.
Relocate regulator if necessary.
C. Install safety relief valve or rupture disc.
D. Ensure no moisture in spring chamber at temperatures below
freeze point. Ensure no dust or debris entering vent opening. If
rainwater or debris enter, re-orient regulator.
A. Heat fluid. Contact factory
A. Inspect and clean seat. If seat eroded, replace regulator.
B. Use multiple 1465's in series to stage pressure drops. Refer to
1465 Technical Bulletin for water cavitation chart.
A. Tighten spring chamber on body using sufficient torque.
B. Replace o-ring.
Remedies
Remedies
Remedies
Remedies
Remedies
Remedies
5
