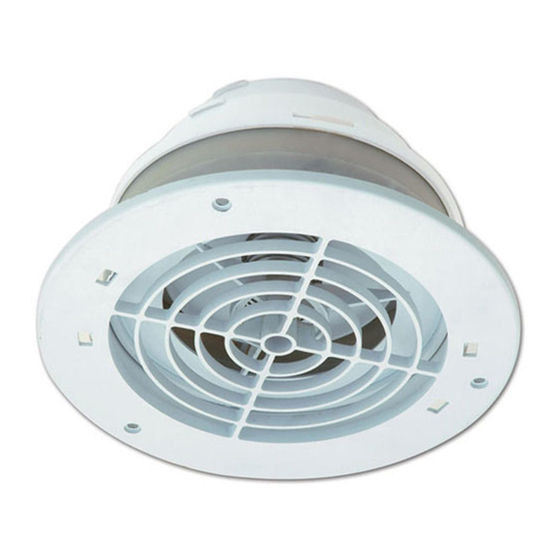
Dundas Jafine Soffit Exhaust Vent Manuel d'utilisation et d'entretien
Parcourez en ligne ou téléchargez le pdf Manuel d'utilisation et d'entretien pour {nom_de_la_catégorie} Dundas Jafine Soffit Exhaust Vent. Dundas Jafine Soffit Exhaust Vent 2 pages.

Use and Care Guide
Soffit Exhaust Vent
TOOLS REQUIRED
Phillips Screwdriver
Utility knife
Installation
ADJUSTING THE SOFFIT
1
EXHAUST VENT
□ If necessary, adjust your soffit
exhaust vent to fit your duct size. For
5 in (12.7 cm) diameter duct, use a
utility knife to cut off the 4 in (10.2
cm) ring. For a 6 in (15.2 cm) duct,
remove the 4 in (10.2 cm) / 5 in (12.7
cm) collar adapter.
4 in (10.2 cm) ring
4 in (10.2 cm)
/5 in (12.7 cm)
collar adapter
4
CONNECTING THE DUCT
□ Connect the duct to the soffit
exhaust vent and clamp it to the
appropriate ring size (determined in
step 1).
Safety Information
This soffit exhaust vent is intended for use on soffit panels at least 16 in (40.6 cm) wide with a vertical clearance of at least 6 in (15.2 cm) high. Before beginning
installation, make sure the soffit area is free of insulation and debris.
Warranty
WHAT IS COVERED
All merchandise is warranted to be free from defects in workmanship and material for one year from the date of purchase. This includes normal wear and
performance failure on items. The manufacturer will replace or repair at their option.
WHAT IS NOT COVERED
This warranty only covers normal wear and performance failure. It does not cover any malfunction, performance failure, or defect arising from the misuse, abuse,
neglect, or modification of the product. Any damage or malfunction inflicted upon the product by the user or other external sources, or any failure to comply with
the warnings and instructions, is not covered.
For further assistance visit www. DundasJafine.com.
Tin snips
TRACING THE CIRCLE
2
TEMPLATE
□ Cut out the circle template, and
position it in the midpoint of the
soffit. Trace the circle template and
cut the hole.
PLACING THE PRODUCT INTO
5
THE SOFFIT
□ Place the duct and soffit into the
opening, and ensure the facing is
flush against the soffit panel.
HARDWARE INCLUDED
Screws (3)
POSITIONING THE DUCT
3
THROUGH THE SOFFIT
□ From the bathroom or kitchen fan,
feed the duct through the opening in
the soffit.
SECURING THE SOFFIT
6
EXHAUST VENT
□ Fasten the soffit exhaust vent to
the soffit panel using the screws
provided.
DUNDASJAFINE.COM
