Danfoss VLT HVAC Drive FC 102 Manuel d'instructions d'installation - Page 6

Parcourez en ligne ou téléchargez le pdf Manuel d'instructions d'installation pour {nom_de_la_catégorie} Danfoss VLT HVAC Drive FC 102. Danfoss VLT HVAC Drive FC 102 6 pages. Adjustable frequency drive - safe torque off
Également pour Danfoss VLT HVAC Drive FC 102 : Manuel d'utilisation (16 pages), Manuel d'installation (20 pages), Manuel d'instructions d'installation (12 pages), Manuel d'installation (18 pages), Manuel d'instructions d'installation (11 pages), Manuel d'instructions d'installation (8 pages), Manuel d'instructions d'installation (10 pages), Manuel d'installation (6 pages), Manuel d'utilisation (16 pages), Manuel d'instructions d'installation (6 pages), Manuel d'installation (16 pages), Manuel d'installation (8 pages), Manuel d'instruction (16 pages), Manuel d'instructions d'installation (6 pages), Manuel d'installation (6 pages)
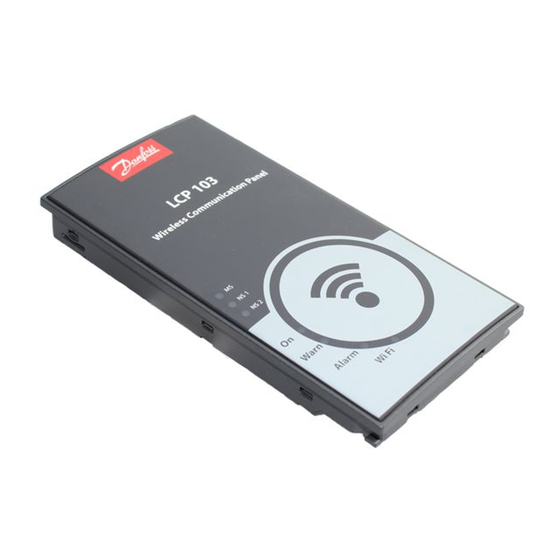
Danfoss VLT HVAC Drive FC 102 Manuel d'instructions d'installation
8.
Unscrew the 2 T10 screws holding the control card
EMC shield (4 screws if MCO is installed).
8a
If MCO is installed, remove the MCO ribbon
cable.
9.
Remove the control card EMC shield.
1
T10 screws
2
EMC shield
Illustration 1.7 Screws and EMC Shield
Danfoss can accept no responsibility for possible errors in catalogues, brochures and other printed material. Danfoss reserves the right to alter its products without notice. This also applies to products already on
order provided that such alterations can be made without subsequential changes being necessary in specifications already agreed. All trademarks in this material are property of the respective companies. Danfoss
and the Danfoss logotype are trademarks of Danfoss A/S. All rights reserved.
Danfoss A/S
Ulsnaes 1
DK-6300 Graasten
vlt-drives.danfoss.com
130R0788
1
2
Re-assemble the new control card in reverse order.
MI93A102
*MI93A102*
10.
Unscrew the 3 T10 screws and remove them.
11.
Gently remove the control card from the upper-right
socket. Avoid overbending and contact with
electronic components.
Control card
T10 screws
Illustration 1.8 Control Card and T10 Screws
03/2017