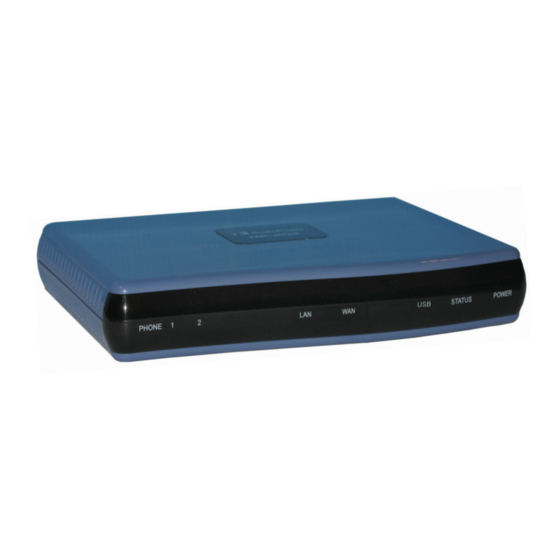
AudioCodes MP-202R Manuel d'installation rapide
Parcourez en ligne ou téléchargez le pdf Manuel d'installation rapide pour {nom_de_la_catégorie} AudioCodes MP-202R. AudioCodes MP-202R 2 pages. Fxs telephone adapter

1 Before Installing
Congratulations on purchasing your AudioCodes MP-202R FXS Telephone
Adapter. Before you begin using the device, make sure that the following
items are included in the shipped box:
AudioCodes' MP-202R FXS Telephone Adapter
A 12V - 2A AC/DC power cord adaptor (use only the supplied)
You'll also need (not supplied by AudioCodes):
A broadband Internet connection (e.g., Cable or DSL modem)
Analog telephones
A personal computer
RJ-11 telephone cables
Two RJ-45 Ethernet cables
2 Cabling and Installing MP-202R
To cable and install MP-202R:
1.
Connect the MP-202R's Ethernet connector labeled WAN to your cable
or DSL modem, using the Ethernet cable.
2.
Connect the MP-202R's Ethernet connector labeled LAN/PC to your PC,
using the second Ethernet cable.
3.
Connect the MP-202R's telephone ports labeled PHONE to analog
telephones/faxes, using the RJ-11 telephone cables.
4.
Connect MP-202R to a standard 110/220 VAC electrical wall outlet,
using the AC/DC power adapter; the POWER LED is lit (green) and when
initialization completes (~ 1 minute), the STATUS LED changes from red
to green.
5.
The USB port can be used as a secondary WAN (with 3G/4G dongles) or
to connect a disk-on-key, external hard disk drive or printer.
3 Configuring Network Parameters
To configure network parameters:
1.
On your PC, verify that the Local Area Connection status is "Connected",
by clicking Start > Settings > Network Connections, and then double-
clicking the Local Area Connection icon.
2.
If the LAN status displays "Disconnected", click Properties, select
'Internet Protocol (TCP/IP)', and then click Properties; ensure that the
'Obtain an IP address automatically' option is selected.
3.
Open a Web browser and enter the URL address http://MP202R.home:
The MP-202R embedded Web server's Welcome screen is displayed.
4.
Define a new password (record and retain it for future reference).
5.
In the Quick Setup page, select the Internet connection method. Consult
with your ISP for the required connection type (DHCP, PPPoE, PPTP or
L2TP), and then click OK. The Network map displays the elements
connected to MP-202R. Your PC is now connected to the Internet and
you are ready to configure VoIP parameters.
If there is no Internet connection, a red "X" appears below the
globe icon on the MP-202R Web server's Home page. Consult with
your ISP for valid connection parameters.
