Audiolab 8300MB Instructions pour l'utilisateur - Page 7
Parcourez en ligne ou téléchargez le pdf Instructions pour l'utilisateur pour {nom_de_la_catégorie} Audiolab 8300MB. Audiolab 8300MB 8 pages.

5: Operation
The performance of amplifiers tends to stablize
after a period of use due to a number of factors
associated with the physical and chemical
properties of the components. We recommend
that the system be run with a music signal for
several hours when it is first installed. Although
the changes can be quite subtle, after a few days
the sound quality becomes smoother and more
natural.
Switching On
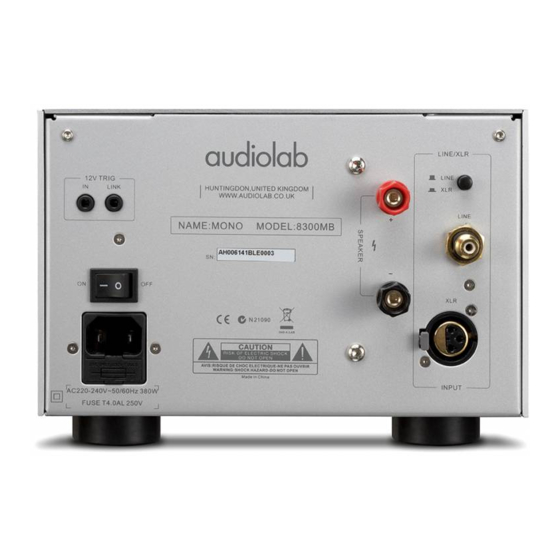
The Audiolab 8300MB mono amplifier Mains
on/off switch is on the rear panel. Press the switch
to power 8300MB on/off.
The power LED will glow red when the amplifier is
powered on.
The Mains On/Off switch should be switched off
when the amplifier is not in use.
Note: Always switch on the power amplifier after
the rest of the system and switch it off before
powering down any source component. Ensure
the system volume control is at minimum when
switching your equipment on or off.
Standby Mode
Audiolab 8300MB mono amplifier will be in
standby mode when power on. Press the
button to bring 8300MB out of standby, the
power indicator LED becomes brighter. You can
activate the 'auto standby' function by holding
the
button down for 3 seconds. Using this 'auto
standby' function, 8300MB will automatically
go into standby mode when there is no signal
input or operation for 20 minutes, and the power
indicator LED becomes dim.
Amplifier Protection Trip
The Audiolab 8300MB mono amplifier is
protected by a thermal fuse which interrupts the
audio output if the amplifier is grossly overloaded
for a period of time. The LED on front panel will
flash when 8300MB is in protection mode. To
restore operation, simply power the unit off for a
while and then power on again.
Loudspeaker Phasing
Make sure that both channels are connected in
phase. The positive (red) output terminal of each
channel should be connected to the positive (red)
terminal of the speaker. Special care should be
taken when bi-wiring as phase becomes critical.
If there is a doubt about the way the loudspeakers
are connected, check their phasing by playing a
mono source - the sound should appear from a
point midway between the two loudspeakers. If
this position is unfocused, reverse the connections
to one of the loudspeakers. Correctly connected
loudspeakers give a defined center sound source
with fuller bodied midrange and bass registers.
Maintenance
The surface of the equipment may be cleaned
with a barely damp cloth provided the power has
been switched off. Solvent based cleaners should
not be used.
Page 6
6: Specifications
(Measurement made with 230V supply)
Rated Output Power
255W 8 ohm (<1% THD,1kHz)
<0.005% (100W 1kHz)
Total Harmonic Distortion
<0.01% (100W, 20Hz-20kHz)
-0.5dB (20Hz-20kHz, ref. 1kHz)
Frequency Response
-3dB (0.1Hz-150kHz, ref. 1kHz)
Input Sensitivity
1500mV (RCA line in)
44 kohm (Balanced)
Input Impedance
22 kohm (Unbalanced)
Signal to Noise Ratio (S/N)
115dB (A Weighted, ref. 250W)
240V~50-60Hz
230V~50-60Hz
Power Requirement
115V~50-60Hz
100V~50-60Hz
Maximum Power Consumption
400W
Standby Power Consumption
<0.5W
Dimensions(mm) (W x H x D)
216 X 150 X 370
Carton Size(mm) (W x H x D)
350 X 285 X 495
9.5kg (Net)
Weight
11.5kg (Gross)
