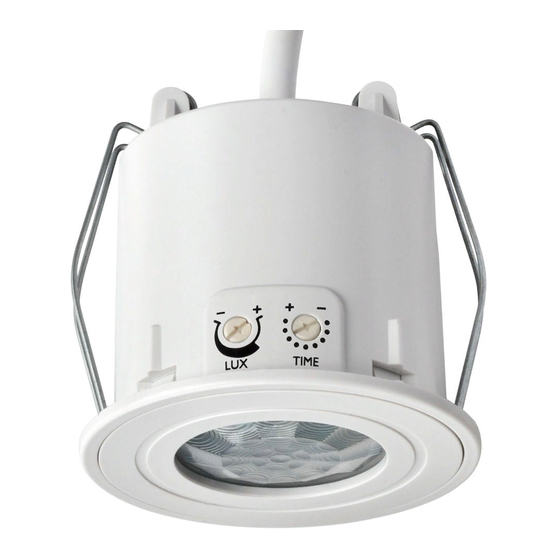
DANLERS CEFL PIR Notes d'installation - Page 5
Parcourez en ligne ou téléchargez le pdf Notes d'installation pour {nom_de_la_catégorie} DANLERS CEFL PIR. DANLERS CEFL PIR 15 pages. Ceiling flush mounted pir occupancy switch
Également pour DANLERS CEFL PIR : Manuel de démarrage rapide (2 pages)

MODES are the parameters to which ControlZAPP enabled controls respond to changes
such as occupancy usage and changing light levels.
Setting Modes
NOTE: Check you have the correct 'PROFILE IN USE' selected prior to editing. A reminder
of the profile in use appears in the thin blue strip at the top of the screen.
-
Launch home page. Select the appropriate profile to be in use from the 'Profiles' field.
which should appear in the blue 'PROFILE IN USE' field. Press 'Modes' button.
-
New screen appears with 'UNNAMED MODE' indicated in grey box at top of screen
with a blue line under the box indicating that this set of MODES is in use. The 'PROFILE
IN USE' will be indicated in the blue box at the top of the screen.
The different MODE options are as follows:
Detect Movement
DISABLED - No options are revealed. See Diagram 8.
ENABLED - The following options are revealed: See Diagram 9.
Sensitivity
-
Sensitivity is adjusted by a slider scale by dragging the blue circle left to right to
choose MIN or MAX sensitivity of the ControlZAPP Passive Infra-red (PIR) sensor. This
increases (MAX) and decreases (MIN) the range of detection of the ControlZAPP PIR
sensor, this also has the effect of decreasing (MAX) and increasing (MIN) the amount of
movement required by the PIR sensor to register occupancy.
Turn OFF Timeout
-
'Turn OFF Timeout' is time that must elapse without the device sensing another
movement within its zone of detection prior to switching the connected load OFF.
-
To alter 'Turn OFF Timeout' - Press the timer clock to the right of 'Turn OFF Timeout'
-
New screen appears with arrow heads above and below timings. Quick press for small
adjustment. Press and hold to scroll. Variable from 10sec to 23hrs 59mins 59sec.
Press DONE when complete.
Short Visit Mode
This enables the end user to occupy an area for a short period of time without the
ControlZAPP enabled PIR holding a connected load ON for its full 'Turn OFF Timeout'
providing the area is occupied for less time than half of the Short Visit Duration.
DISABLED - 'Short Visit Duration' remains inactive and cannot be adjusted.
ENABLED -
'Short Visit Duration' becomes active and may be adjusted.
Short Visit Duration
The Short Visit Duration is timed in two halves. The first half of the Short Visit Duration is
allocated for sensing occupation prior to the full 'Turn OFF Timeout' being activated (see
above). The second half of the Short Visit Duration is then allocated as a turn OFF timeout'.
To alter Press the timer clock to the right of 'Short Visit Duration'
-
New screen appears with arrow heads above and below timings. Variable from 10sec to
23hrs 59mins 59sec. Quick press for small adjustment. Press and hold to scroll.
a - SHORT VISIT MODe eNableD wITH 4 MINUTe SHORT VISIT MODe
2 minute max. occupation time not exceeded. 15 minute turn off timeout would not activate.
4 MINUTES
1 MIN
b - SHORT VISIT MODe eNableD wITH 4 MINUTe SHORT VISIT MODe
2 minute max. occupation time exceeded.
15 minute turn off timeout activated after last movement detected.
3 MINUTES
3 MINS
c - SHORT VISIT MODe eNableD wITH 4 MINUTe SHORT VISIT MODe
2 minute max. occupation time plus 2 minute 'no return time' exceeded.
15 minute turn off timeout activated after last movement detected.
5 MINS
5 MINS
0
2
4
MODES
15 MINUTES TURN OFF TIMEOUT (18 MINUTES TOTAL)
15 MINUTES TURN OFF TIMEOUT (20 MINUTES TOTAL)
6
8
10
DIAGRAM 10
12
14
16
DIAGRAM 8
DIAGRAM 9
KeY
Time the connected load is
ON.
Time the area of detection is
Occupied.
Time the area of detection can be
Occupied to stay within Short
Visit Mode time parameters.
Time period alocated after
OccupATiON (within an area of
detection) in which no further
occupation can be detected to
allow device to turn load off after
the Short Visit Mode Time.
18
20
Time
(mins)
PAGE 3
