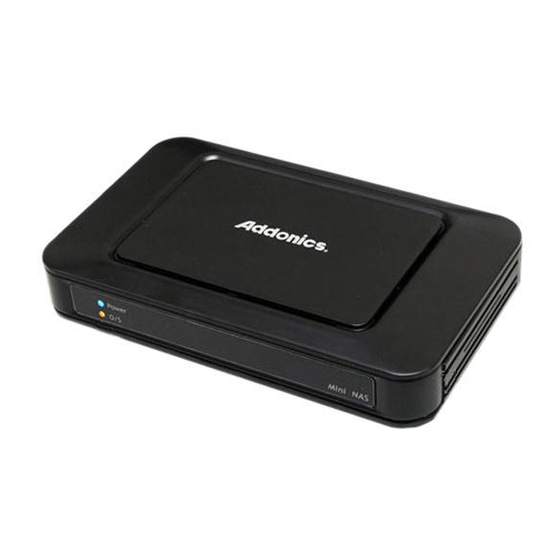
Addonics Technologies NAS25HDU2 Manuel d'installation rapide - Page 3
Parcourez en ligne ou téléchargez le pdf Manuel d'installation rapide pour {nom_de_la_catégorie} Addonics Technologies NAS25HDU2. Addonics Technologies NAS25HDU2 4 pages. Mini nas
Également pour Addonics Technologies NAS25HDU2 : Manuel de l'utilisateur (8 pages), Manuel de l'utilisateur (13 pages)

LAN Configuration
By default, "LAN Config" is set to "Automatic IP". This will allow the mini NAS to
obtain its IP address automatically. If you prefer setting it manually, select the
static IP option, enter your own value and click "Apply" to confirm the new
setting.
Disk Utility
In this page, you can manage hard disk settings of the USB storage device.
Format: For first time installation, you need to format hard disk into FAT32
file system. Formatting the drive will erase all data on the hard drive.
Warning: For hard drives with data on it, create a backup before
proceeding to format the hard drive!
Tip: You can transfer back the backup data to the NAS Public folder for
sharing via the network or USB connection of the USB Storage device.
Sleep Time: This is to select hard disk sleeping mode.
Scan Disk: After the scan, it will show file content information and health
status for the hard disk.
Samba Server
Samba server allows you to share data or files through the network LAN. When a
USB storage device is connected, a default Public folder is available to be shared
among Guest users. A default Guest user is also created.
Note: Only use English alphabet for folder names and no special characters
when creating new folders.
How to create a user
Click on the "Add" button and type new account name and password. Click
"OK". The NAS will also create a SAMBA folder named "User1".
Click "Modify" to share a folder.
Select "User1" from Folder List and click the "à" to add user on "Sharing
List".
