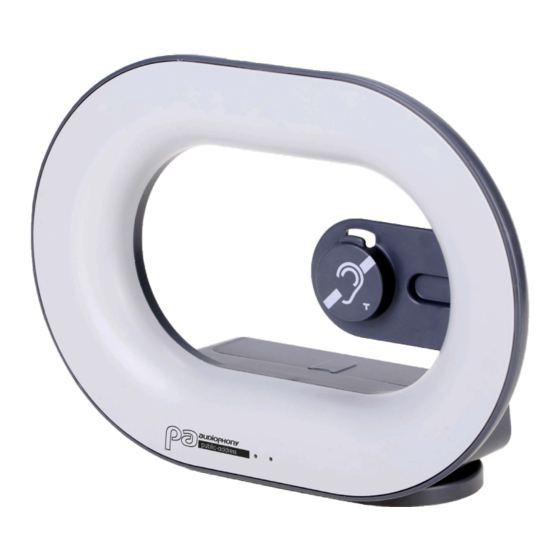
Audiophony PA BM-DESK Manuel de l'utilisateur - Page 14
Parcourez en ligne ou téléchargez le pdf Manuel de l'utilisateur pour {nom_de_la_catégorie} Audiophony PA BM-DESK. Audiophony PA BM-DESK 17 pages.

English
3. Ensure that the wearer has properly engaged the T-position of the hearing aid.
4. Ask the wearer of the hearing aid to check the sound volume settings on the hearing aid.
If you have followed the above steps and the prosthesis wearer is still unable to hear a clear
signal, this may be due:
- A failure of the loop
- A defect in the wearer's hearing aid
- The wearer's hearing aid coil is not activated.
9 - Additional connections
9-1 External microphone
If more than two people are involved in the conversation, it is strongly recommended to use
a loop adapted to the large surface area. If you do not have a microphone available, it is
nevertheless possible to use an external microphone.
9-2 External sound source
To connect the loop to a TV or other external sound source, connect the loop with a jack/jack
cable.
1. Insert the jack connection into the appropriate outlet on your sound source.
2. Insert the jack plug into the EXT-IN socket on the back of the portable loop.
3. Position the buckle so that it faces the wearer of the hearing instrument.
Note: The internal microphone is inactive when the external microphone is connected.
10 - Important information
- A green LED indicates that the unit is functioning properly.
- If the battery is low, a yellow LED lights.
- The device can be charged while in use.
- When the portable magnetic loop is not in use, it should be connected to its mains charger.
This will consume very little power.
Note: The operating time of the device with full charge and not plugged into the mains is
approximately 4 hours.
Page 14
BM-DESK - Portable, stand-alone loop amplifier
1. Insert the microphone jack into the EXT-IN
jack on the back of the unit.
2. Place the external microphone towards
those who speak.
