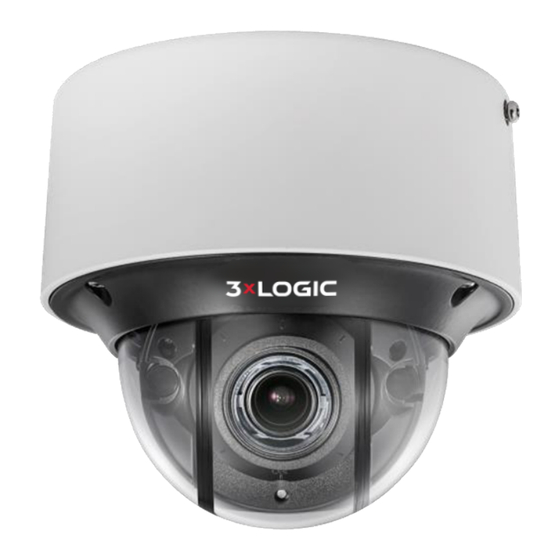
3xLogic VX-2V-MD-RIWH Manuel de démarrage rapide - Page 12
Parcourez en ligne ou téléchargez le pdf Manuel de démarrage rapide pour {nom_de_la_catégorie} 3xLogic VX-2V-MD-RIWH. 3xLogic VX-2V-MD-RIWH 20 pages. Visix v-series all-in-one camera gen ii

(OPTIONAL) INSTALLATION OF NETWORK CABLE WATER-PROOF JACKET
Purpose:
If the camera is installed outdoors, you can install a waterproofing jacket for the network cable after the
camera is secured to the installation surface.
① ②
Steps:
1. Feed the plugless network cable ⑦ through the lock nut ⑥, waterproof rubber gasket ⑤ (the rubber
gasket inset ridge must face the waterproof endcap), and the waterproof endcap ④ in order.
2. Crimp an RJ-45 network plug ③onto the end of the cable, taking care to insert the twisted pairs of wires in
correct order.
3. Place the O-type gasket ② onto the end of the camera's network interface socket ①.
4. Insert the network plug ③ into the camera's network interface socket①.
5. Insert the waterproof rubber gasket ⑤ into the waterproof endcap ④, and secure lock nut ⑥ with the
waterproof endcap ④.
6. Align the snap on the waterproof endcap ④ with the notch on the camera's network interface socket ①,
and then secure the waterproof endcap ④ to the camera's network interface socket ① to finish installation.
(OPTIONAL) INSTALLATION OF WATERPROOF TAPE
12000 Pecos St., Suite 290, Westminster, CO 80234 | www.3xlogic.com | (877) 3XLOGIC
③
Water-proof Accessory Components
Table 1-2 Components
No.
Components
Camera's Network Interface
1
2
O-Type Gasket
3
Network Plug
4
Waterproof Endcap
5
Waterproof Rubber Gasket
6
Lock Nut
Network Cable from
7
Router/Switch
Align the snap and notch.
Camera
Water-proof Accessory Installation
V-Series Camera Quick Start Guide | VX-2V-MD-RIWH
④
⑤
Socket
i. Insert
into
.
⑤
④
ii. Secure
with
.
⑥
④
Switch/Router
⑥ ⑦
12
