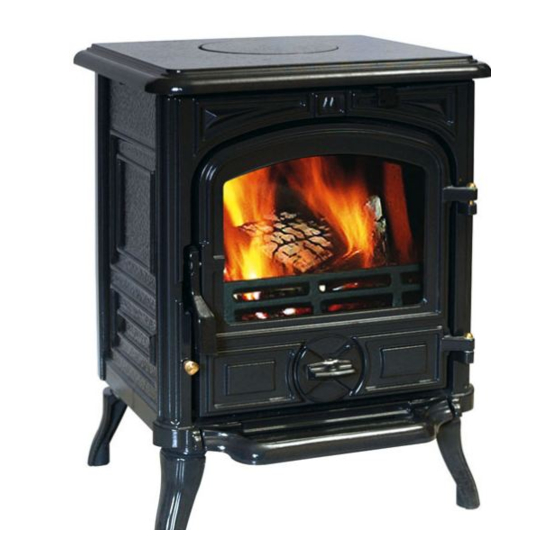
Belfort 134 04 11 Manuel technique - Page 6
Parcourez en ligne ou téléchargez le pdf Manuel technique pour {nom_de_la_catégorie} Belfort 134 04 11. Belfort 134 04 11 16 pages. Belfort 4,5 kw wood or coal stove

"BELFORT" - ref. 134 04 11
!
-
The connection can be either vertical or horizontal. For
horizontal connections, avoid right angle bends.
-
The join between the connection pipe and the
stovepipe, and the flue, must be leak tight.
-
The connection pipe and any draught stabiliser must
have access for cleaning.
-
The spigot should be connected to a minimum of 125
mm flue system and in that case the appliance is
capable of burning untreated wood and recommended
solid fuels.
2.6. Maintenance of the stove body
•
The stove must be regularly cleaned.
•
Remove all deposits from the combustion chamber
and clean the grate area.
•
The vitro ceramic glass can only be cleaned using a
soft cloth and stove glass cleaner, available from your
Franco Belge Dealer. DO NOT USE ABRASIVES
•
The vitro ceramic glass resists a temperature of 750°C.
If the glass should be broken, it is recommended that
only an original factory replacement should be fitted.
For enamelled finishes, the stove body can be cleaned
using a soft cloth either dry, or slightly damp with a very
mild detergent.
NEVER CLEAN ENAMEL SURFACES WHILST THE
STOVE IS HOT.
The cast iron body panels of non-enamelled stoves can
be cleaned with a proprietary stove cleaner or
re-sprayed / touched up using a stove paint. These
products are available from your Franco Belge Dealer.
Caution ! : The appearance of cracks when burning the
enamelled units is quite usual and tends to disappear
when the appliance is cooling down. It should not be
considered as a defect but rather as a patina of the
enamel which does not affect its quality nor its service
ability.
6
!
"
2.7. Door closing pressure
Figure 7
The closing latch rotates around a pressure screw
positioned cam.
-
-
Tighten pressure screw 1.
"
!
1
1 - Screw
Figure 7 - Door closing pressure
Loosen pressure screw 1.
Turn cam to desired position 2.
Installation instructions
#
Figure 6 -
Chimney
connections
1 - Chimney
2 - Funnel-shape
fireproof
material
3 - Non
combustible
register plate
4 - Cleaning
access door
5 - Liner
2
2 - Cam
Technical manual "1174"
